For the full video tutorial on how I hard wired and hung this lamp to look like a pendant click here: https://www.youtube.com/watch?v=HXUg0UhKcPw
It’s no secret that I am drawn to gorgeous shiny things. If it sparkles, shines, or glitters I will stare at it with the wonder of a 6 year old girl on her first trip to Disneyland. If I can afford it, I will bring it home to stare at it as long as I want in private. That is why when I saw this pin a few years back from POPSUGAR, I was totally enamored:
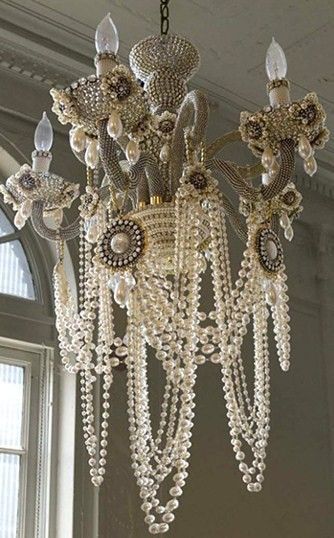
This gorgeous (gaudy in a magnificent way) chandelier was designed by the couture jewelry designers at Erickson Beamon, and this particular piece has been in the permanent collection of London’s Victoria and Albert Museum for two decades. It is covered in Swarovski crystals, dripping with Japanese pearls, and it is obviously more “art” than “I just want a sparkly chandy for my bathroom”. I have read that you can get a similar one custom made from the design house for the bargain price of $45,000!
Since I do not have 45G’s to spend on shiny things in my otherwise builder-grade bathroom, the DIYer in me could not resist trying to re-create something similar to this stunning piece using jewelry findings from big box stores such as Michaels and JoAnn’s. The idea came to me when I came across this light fixture one day at the thrift store. It was only 5 bucks:
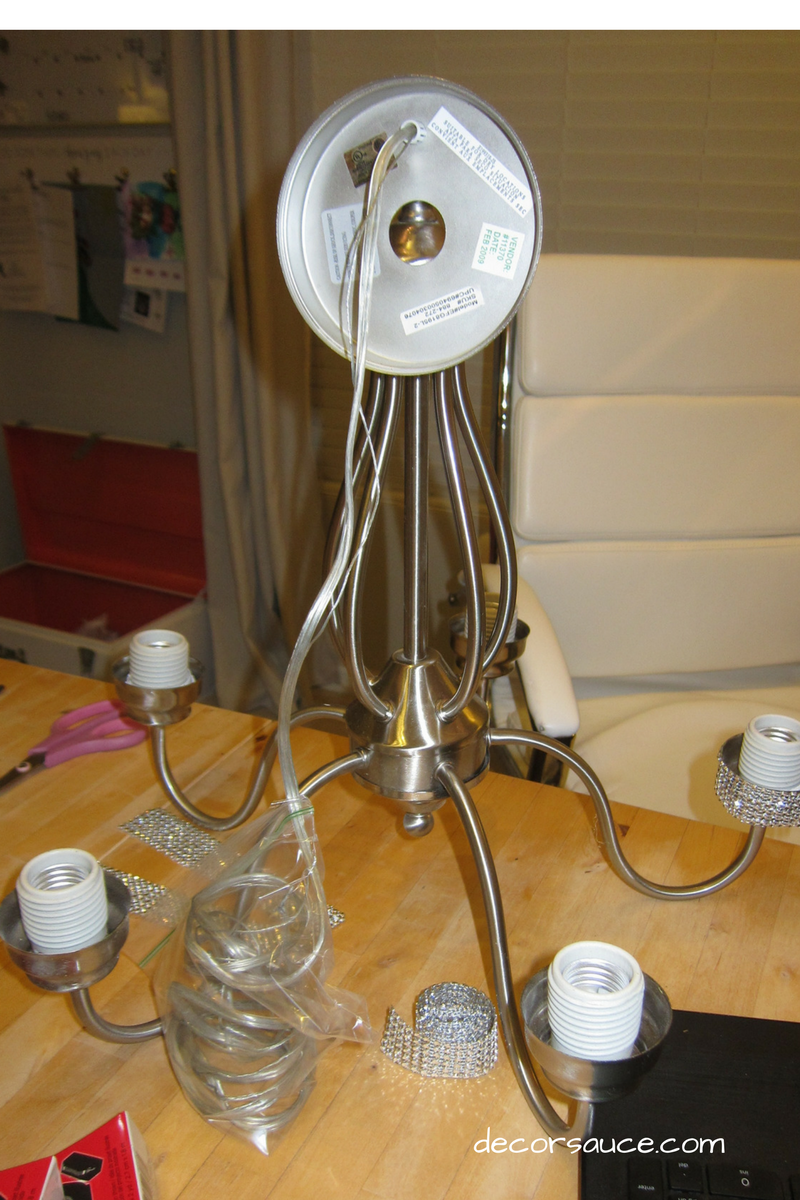
It’s just your everyday basic light fixture, but the price was right and the bones were workable. After I picked this up, I gathered the following supplies at the aforementioned craft stores:
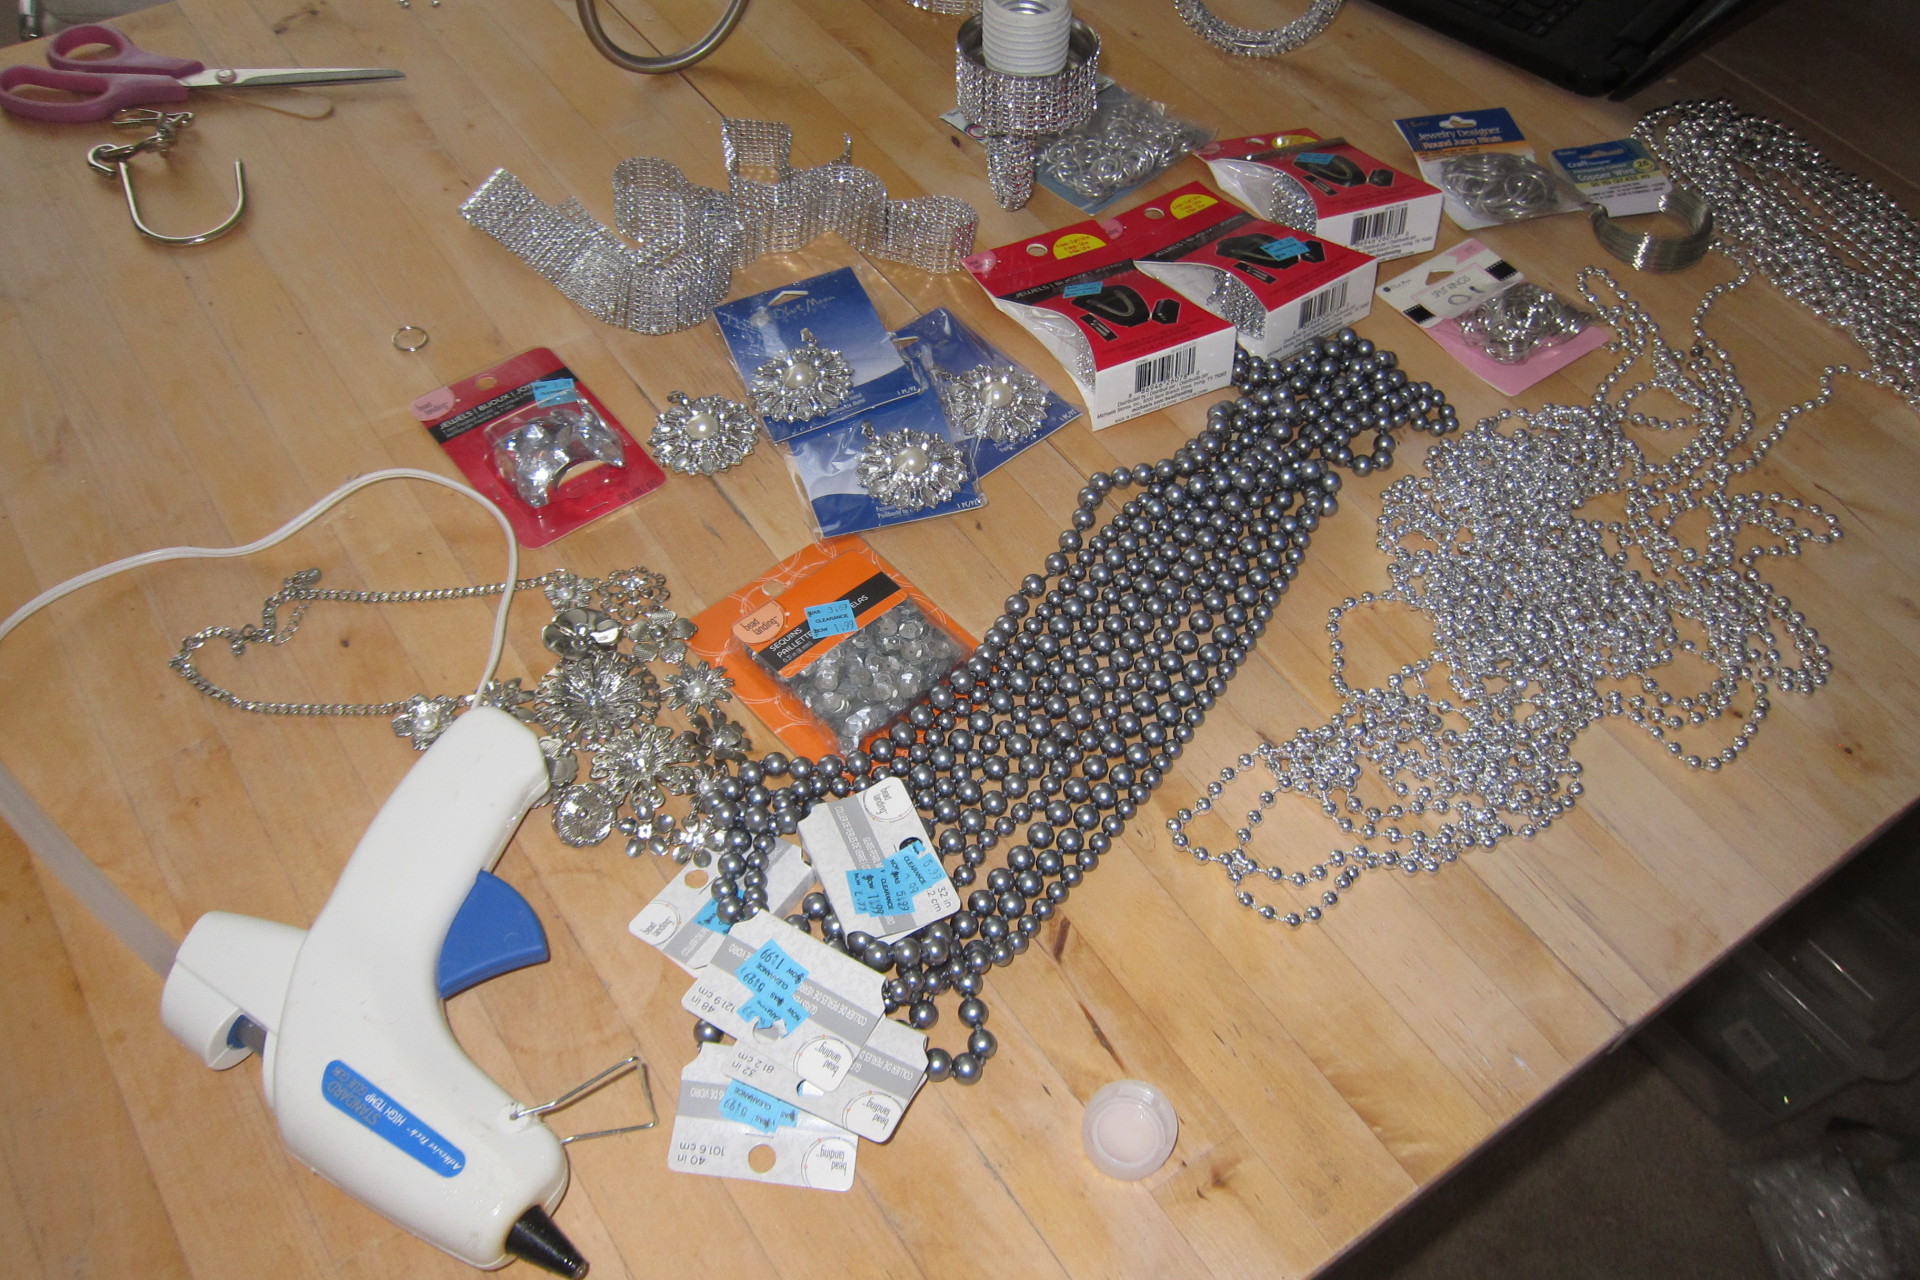
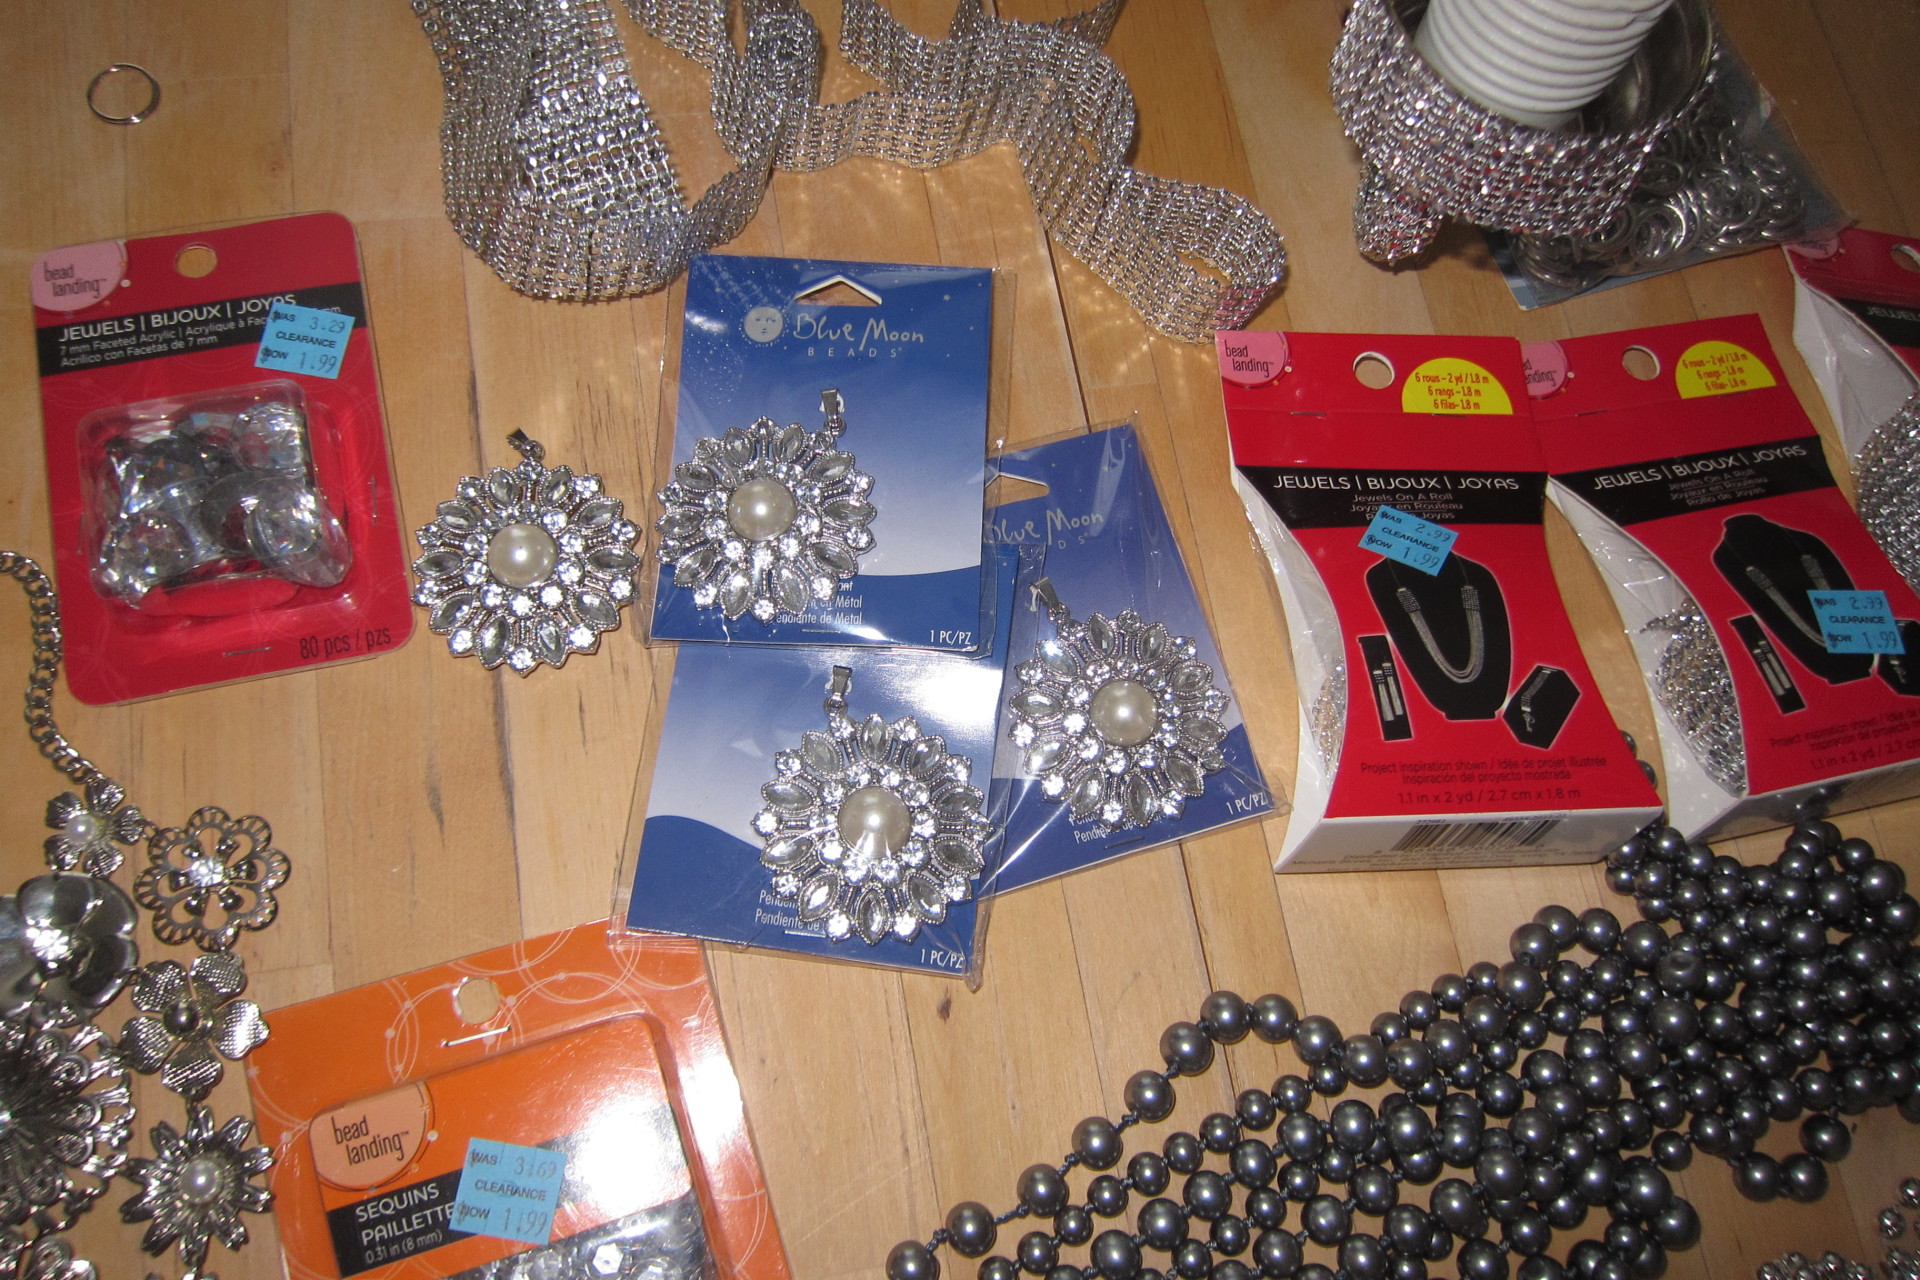
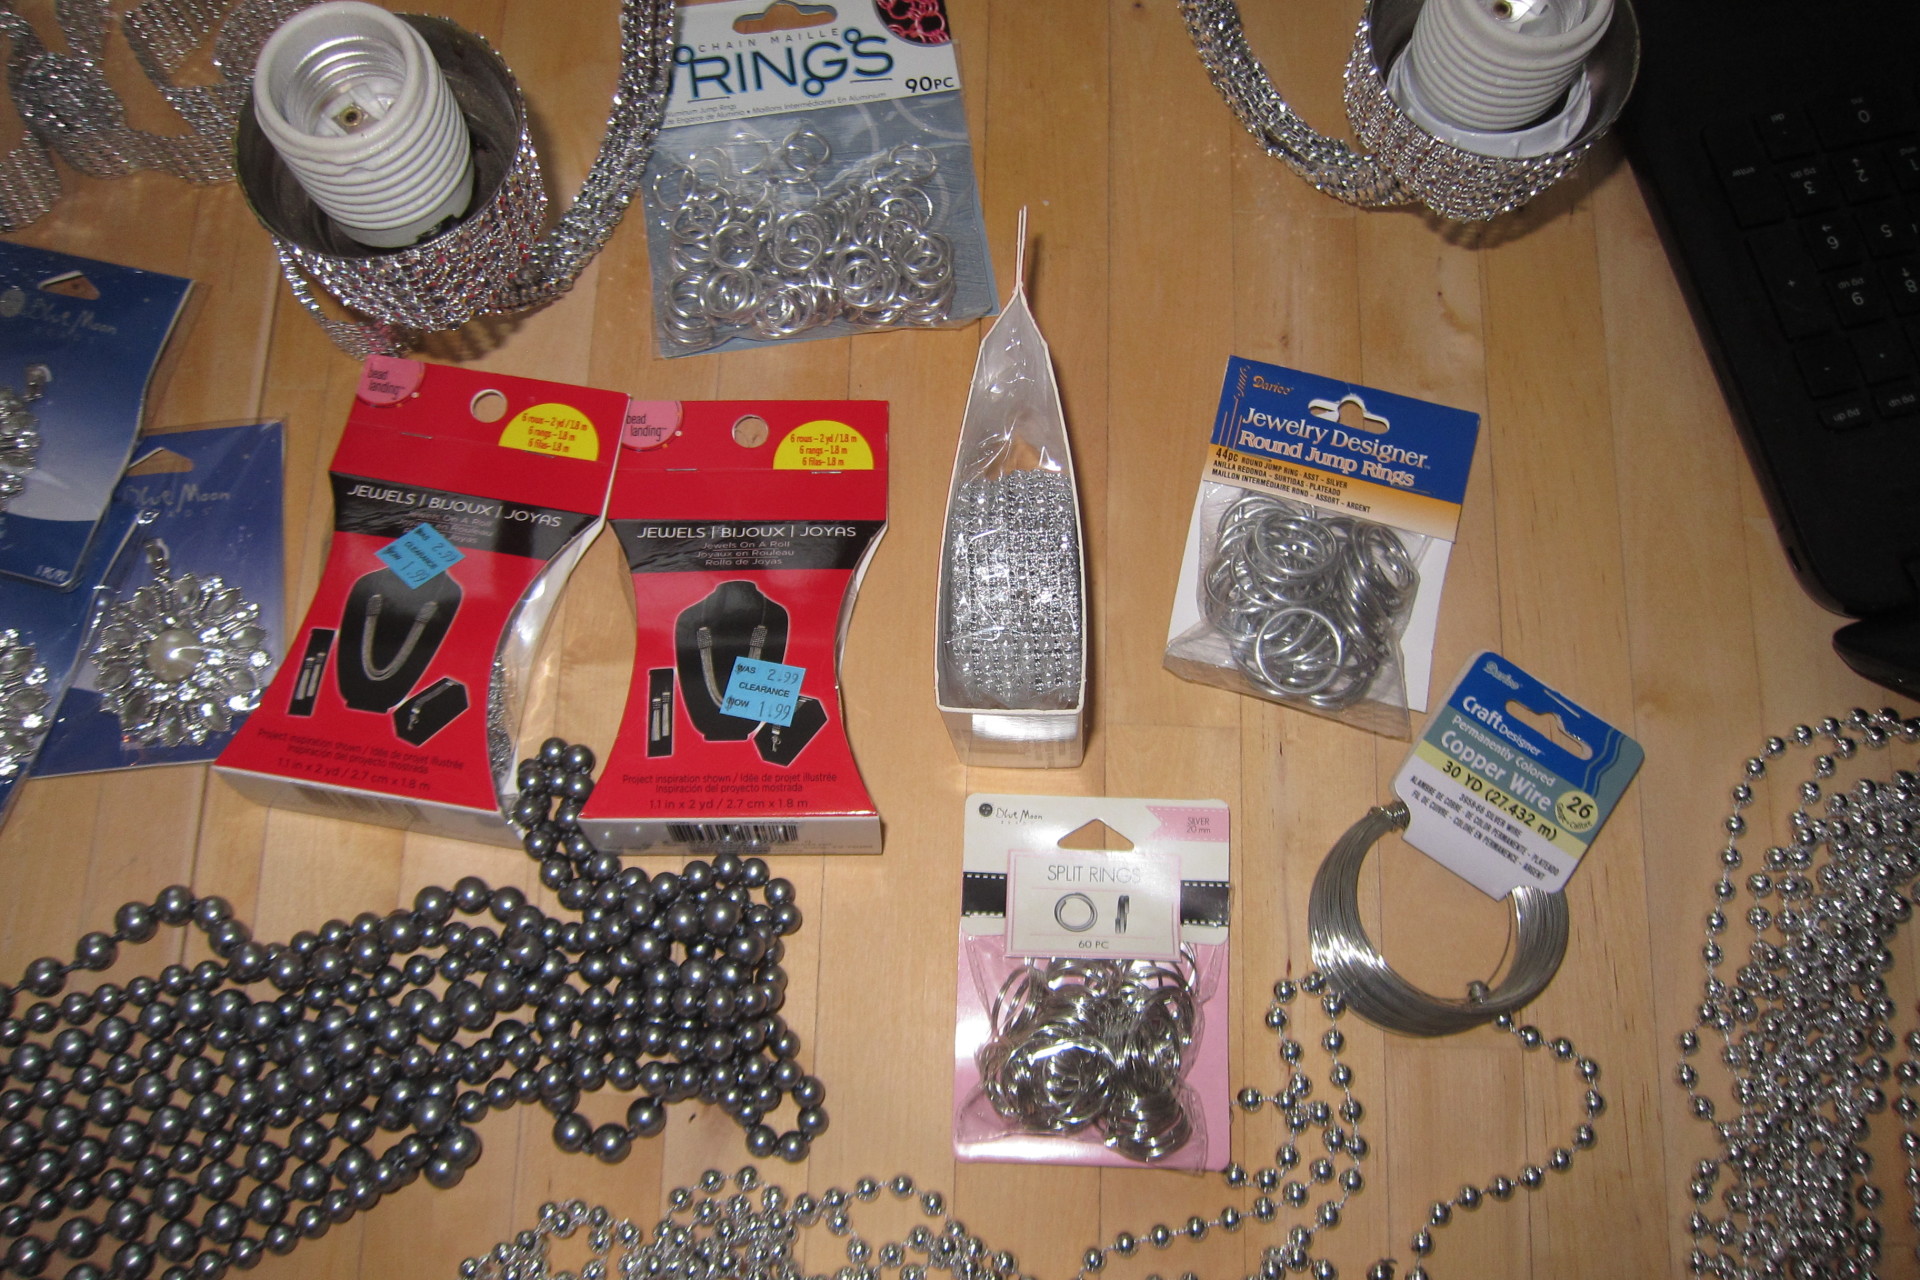
The supplies that you see in the photo’s above are:
1. 10 yards (5 packages) jeweled netting found at Michaels in the wedding section
2. “O” rings in assorted sizes to attach the bead strands to the arms from JoAnn’s (You may only need 1 size depending on your lamp)
3. 5 charcoal glass bead necklaces from Michaels in all different lengths
4. 2-3 dozen silver mardis gras necklaces from Dollar Tree (they sell gold and silver packages around Christmas and New Year’s eve)
5. 26 gauge wire
6. 5 large pearl and rhinestone pendants (1 for each arm)
7. 10 glass chandelier crystals from Amazon.com ($10)
8. large acrylic rhinestones, 1 package
9. Ivory colored rose bracelet (I cut it apart and used the roses and the round beads)
After these supplies were gathered, I realized that I had not picked up enough embellishments for the bulb “cups” so I went digging around in my costume jewelry and came across this, which I took apart with pliers:
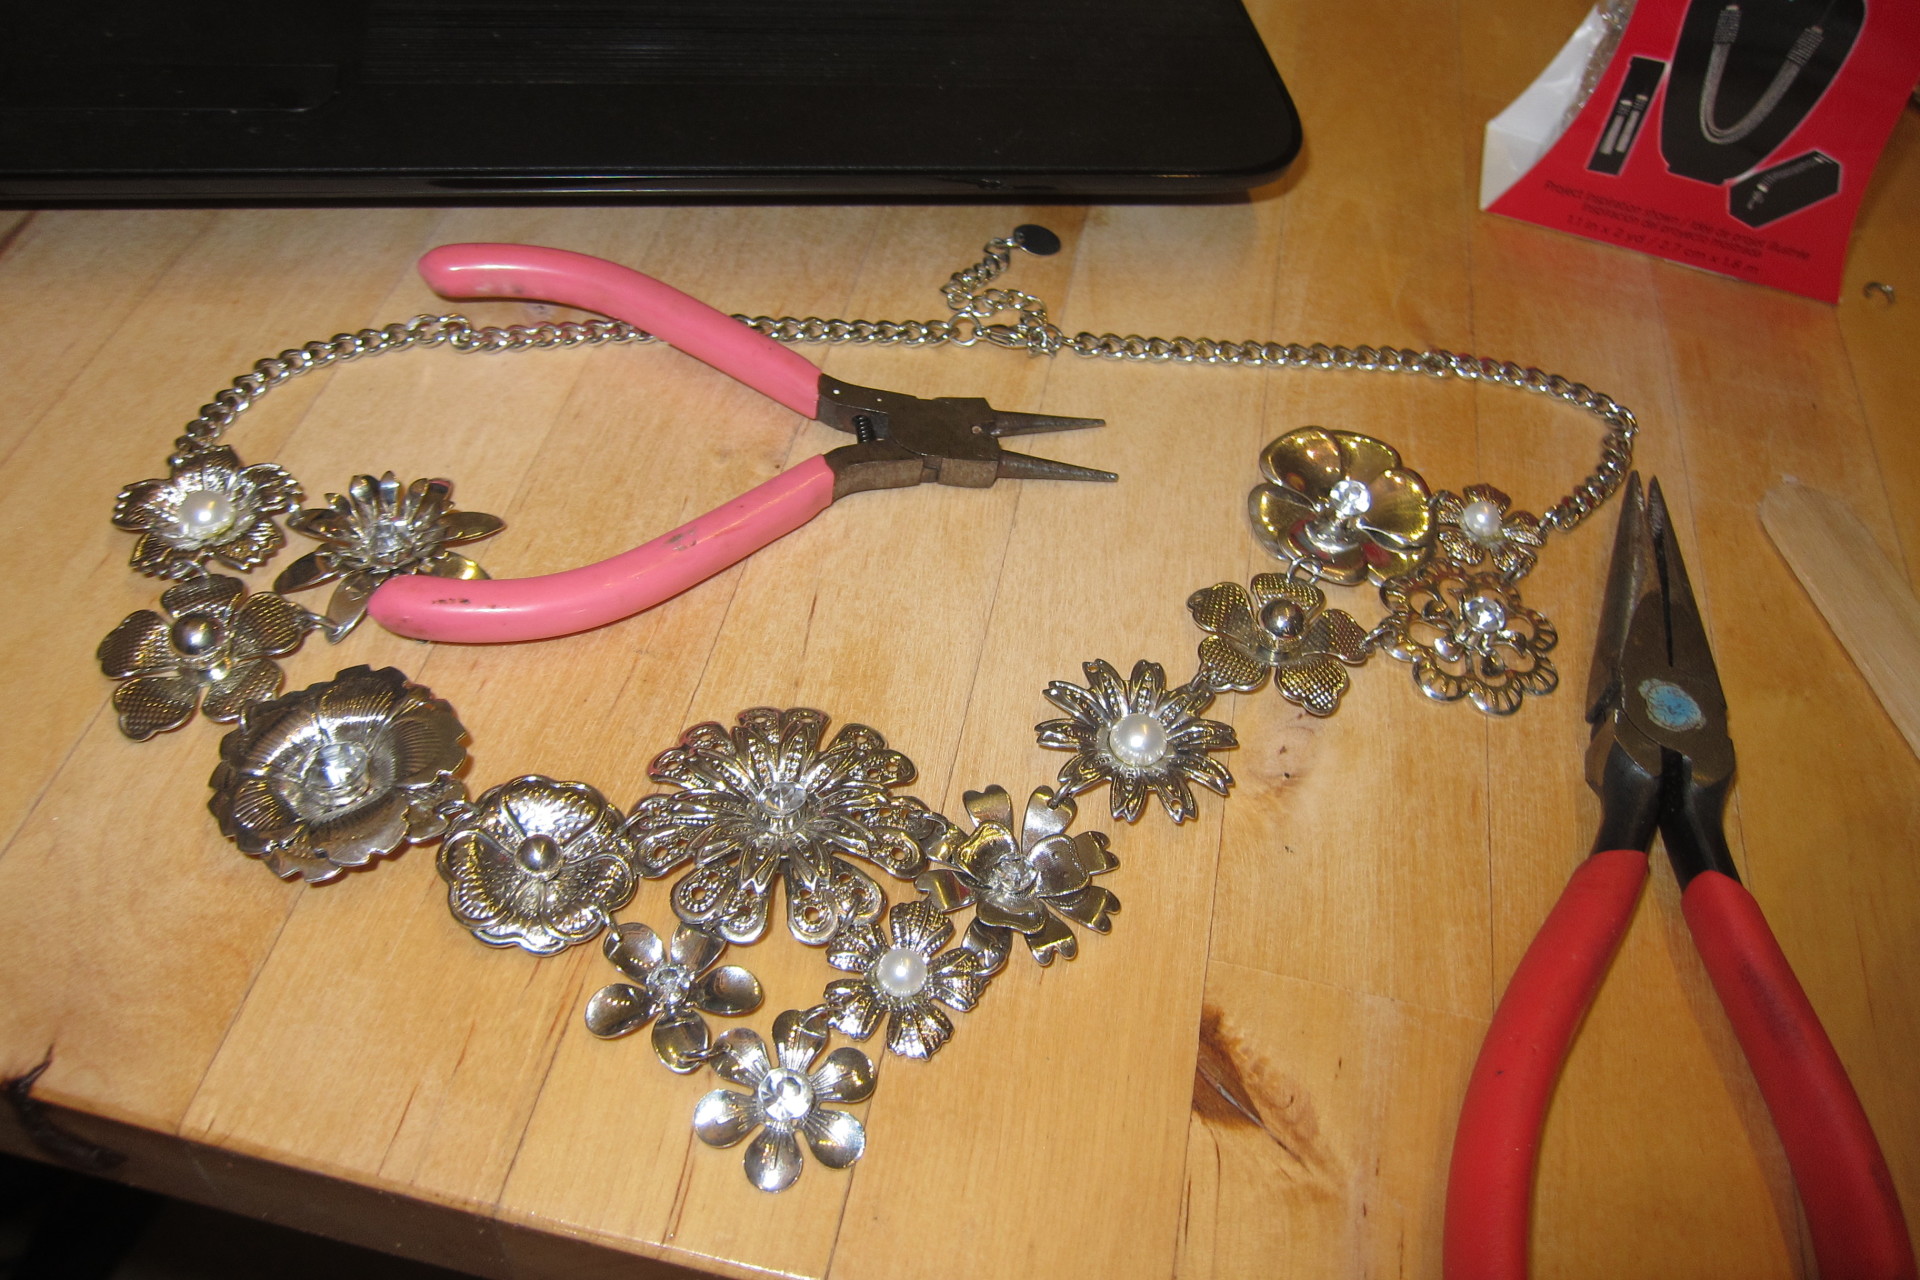
Don’t be afraid to dig through your costume jewelry to find and use old earrings, pendants or beads for this project. Anything that looks good and can be re-purposed will save money and lend your creation more character.
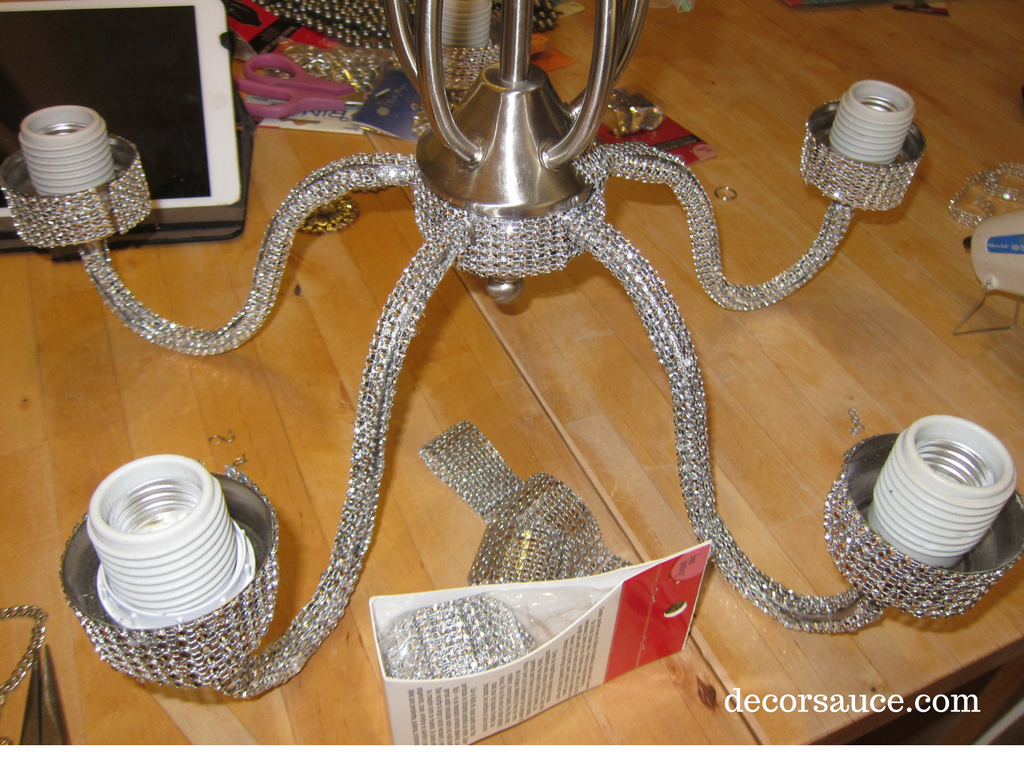
The first thing I did after gathering and inventorying the supplies, was to cover the arms and bulb cups with the jeweled netting that was made to look like crystals using hot glue. I know, I know, hot glue is so 90’s, but there is nothing that would out perform hot glue on a project like this! I bought 10 yards of the jeweled netting and used about 5. I wrapped the arms in the netting a glued it down, piecemealing where it was needed to fill in gaps. Wrapping the entire chandelier in the netting took approximately 5 hours working at a leisurely pace. Keep in mind that this is nothing compared to the time it would take to hand glue rhinestones one at a time with tweezers.
After wrapping all the arms in the beaded netting, it’s necessary to hang your lamp so you can add the embelishments and string the beads the way you want them. I used my 6′ ladder and a paint bucket hook from the hardware store to hang my chandelier at eye level while sitting on the floor.
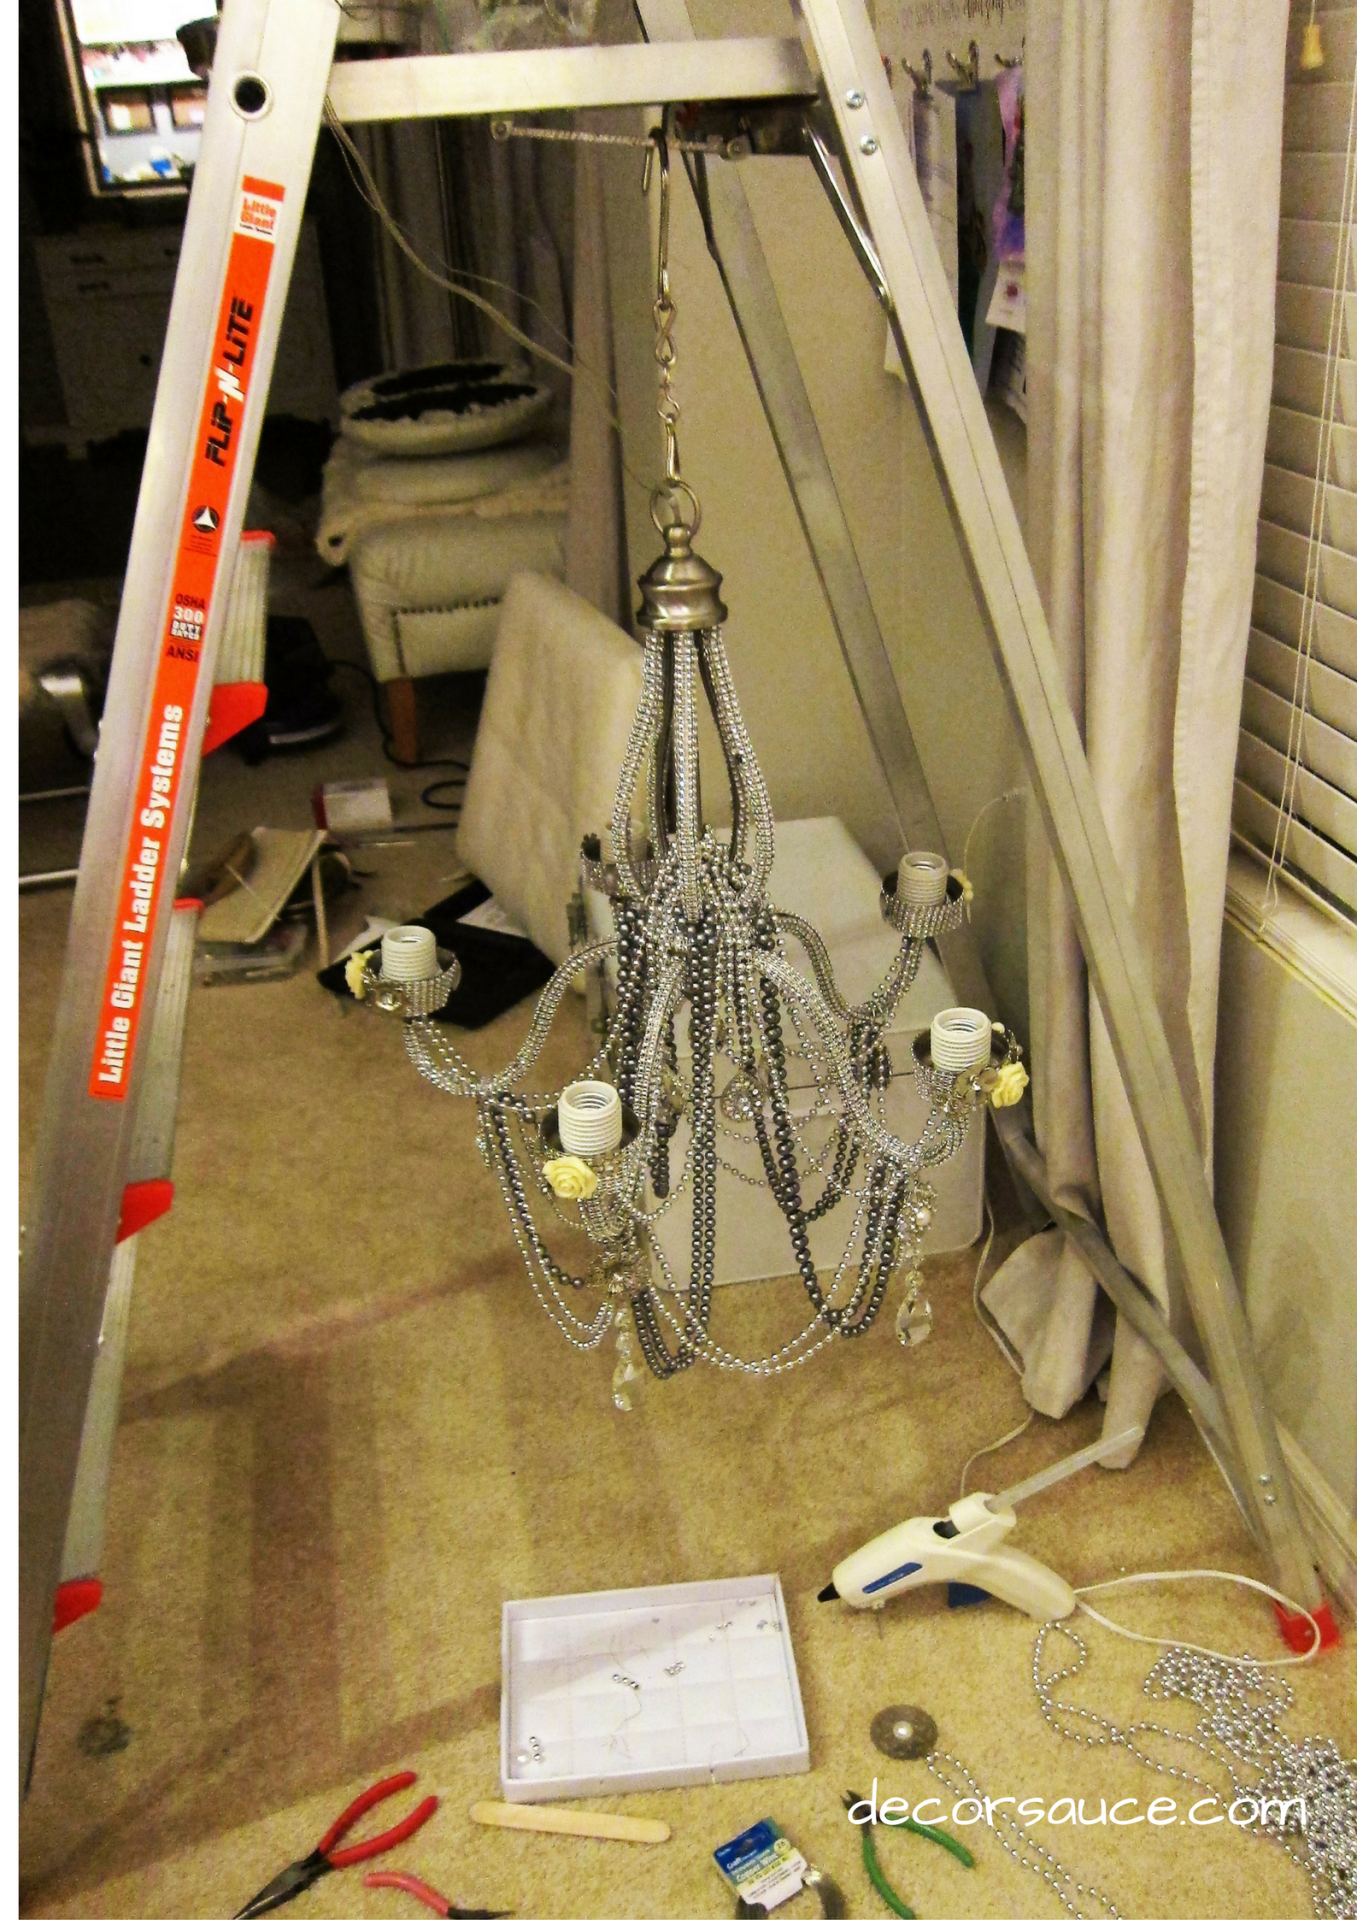
After you hang it, you can drape the beads as you like to get the beading to take shape the way you want it to. Some I attached with the “o” rings and some I attached with the 26 gauge wire depending on which worked the best in that instance. There is no right or wrong way to do this, just keep draping and layering until it looks the way you want it to. Here is mine:
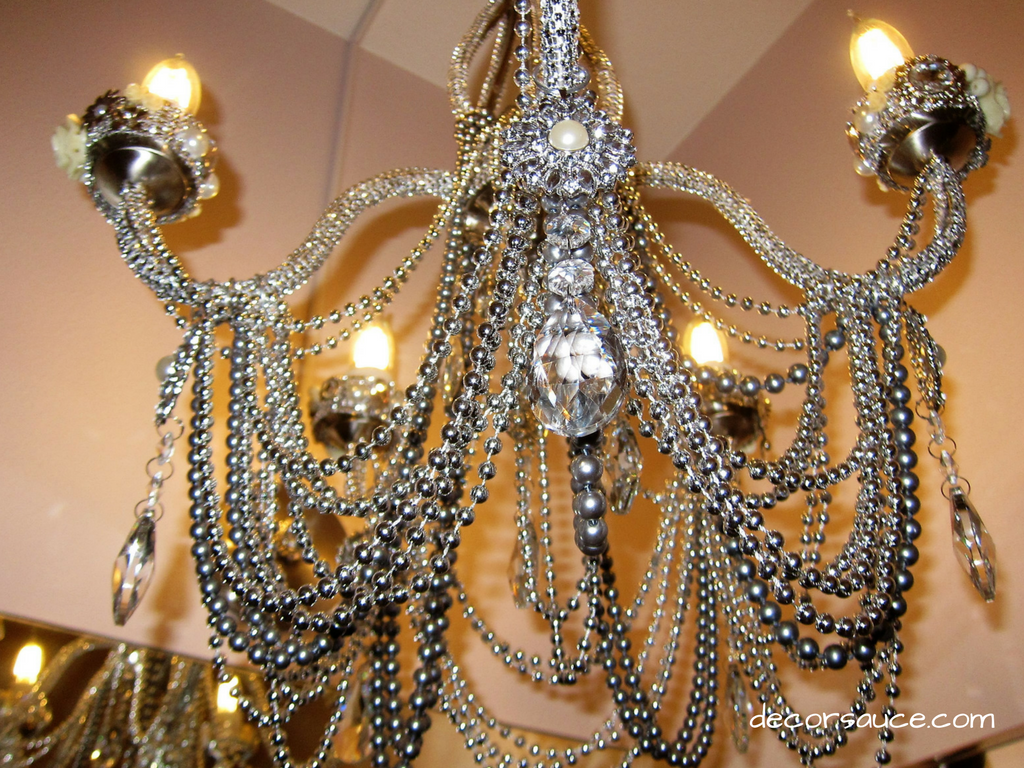
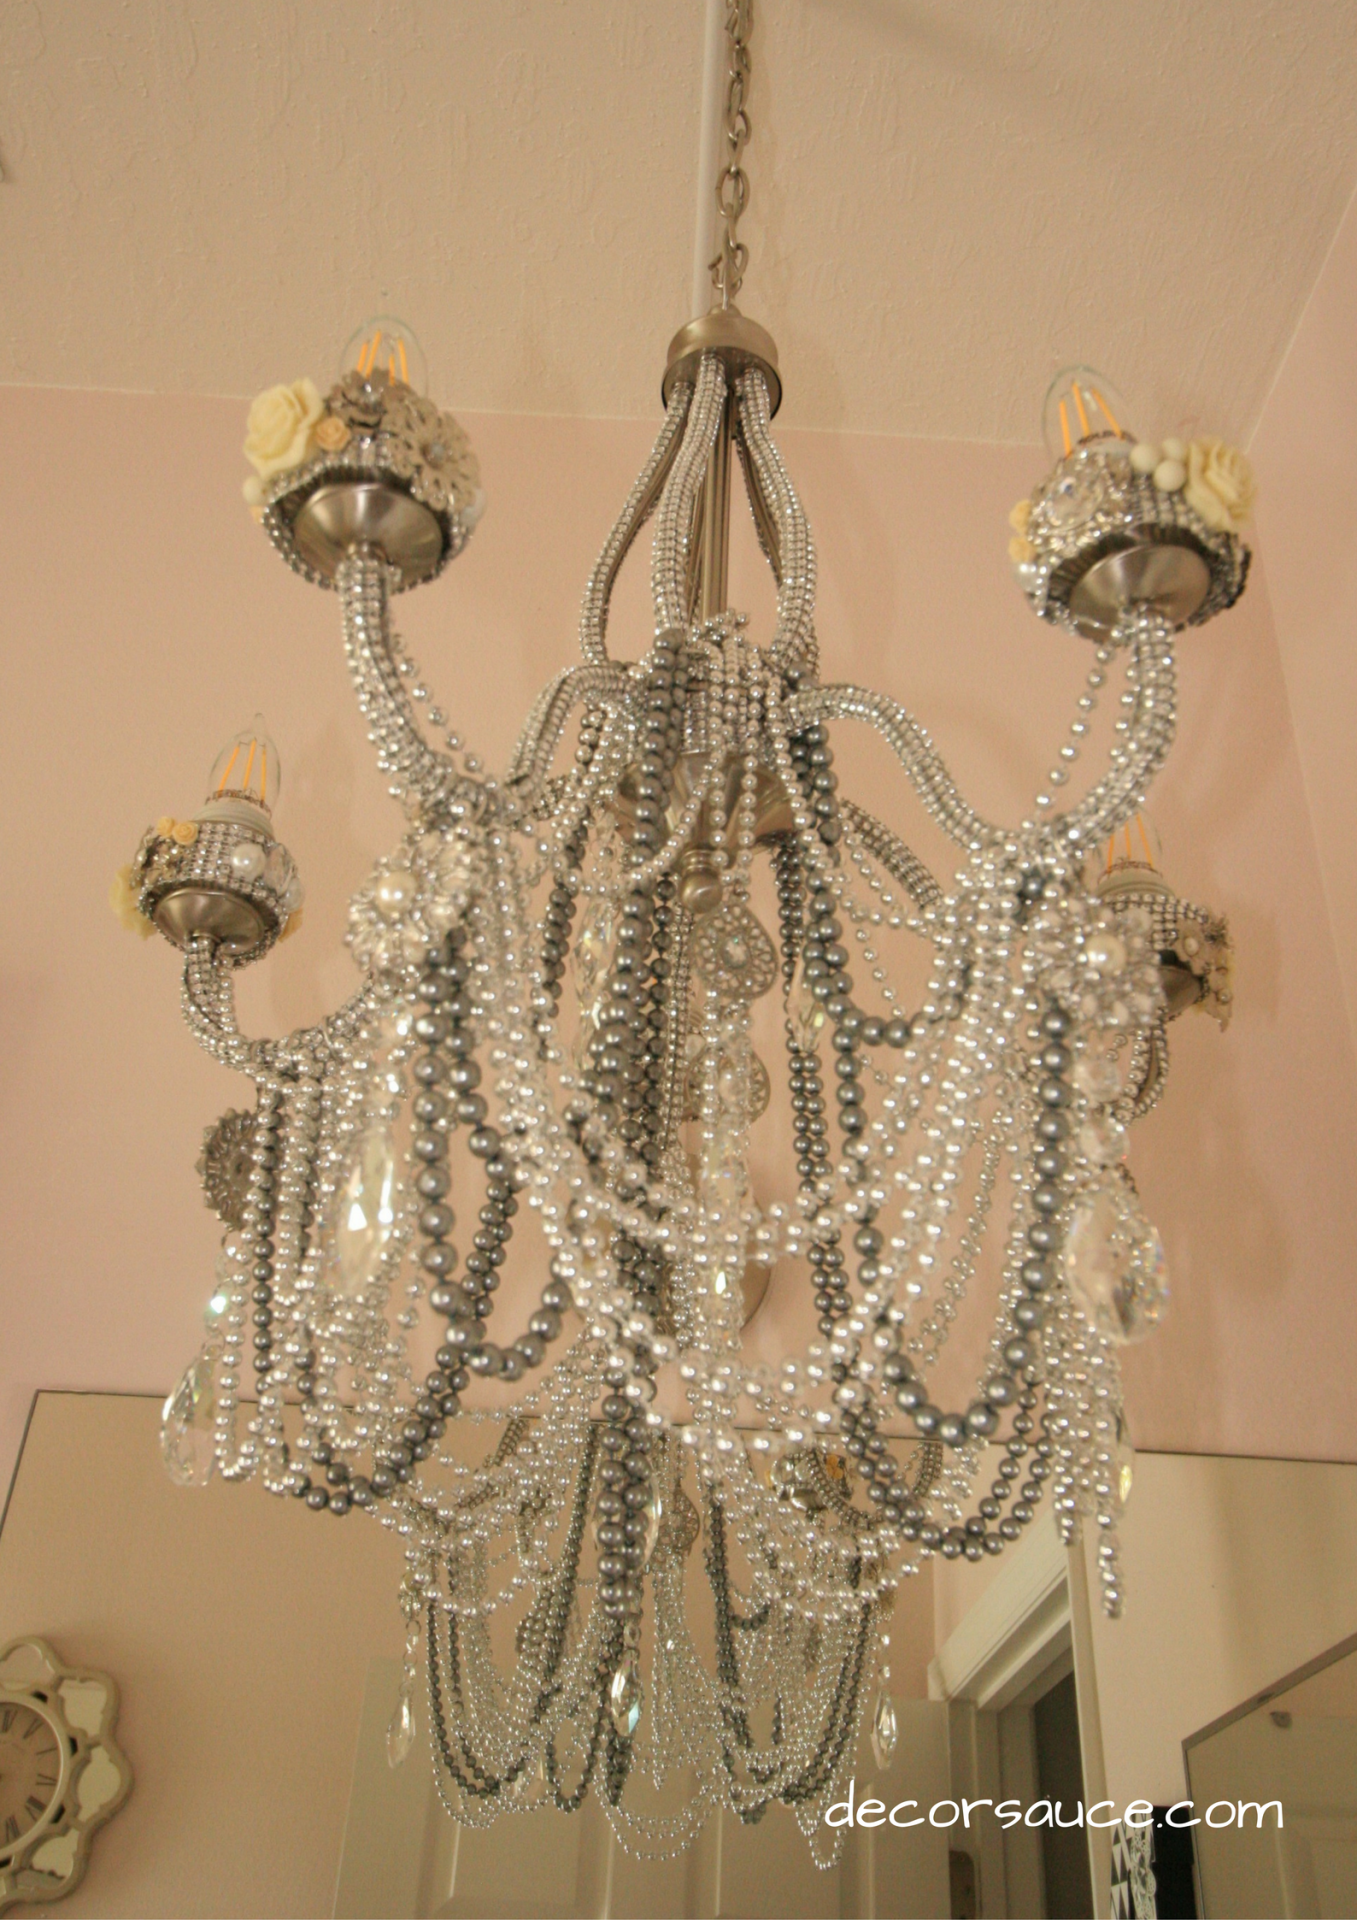
I used LED light bulbs in my chandelier because I wanted them to burn cooler due to the fact that I used hot glue. I do not want my decorations to slide off in the future because the heat from the bulbs re-melted or softened my glue.
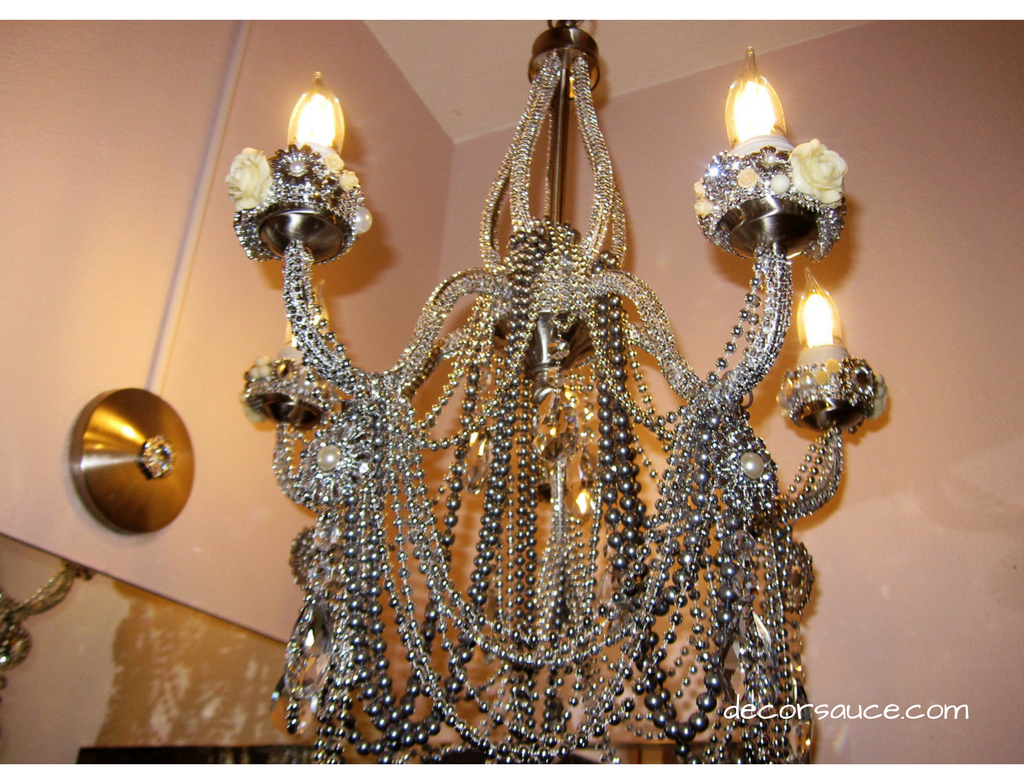

I love my new chandelier, and like the original it’s definitely a one-of-a-kind, handmade piece of art. I hung it in my bathroom downstairs where almost everyone who comes over will see it at some point, without it being the focal point of a main space since it’s so taste-specific. Also, my bathroom light was over the mirror instead of overhead, so if you would like to see the full tutorial on how I hung it like a pendant, please click the youtube link at the beginning of this post.
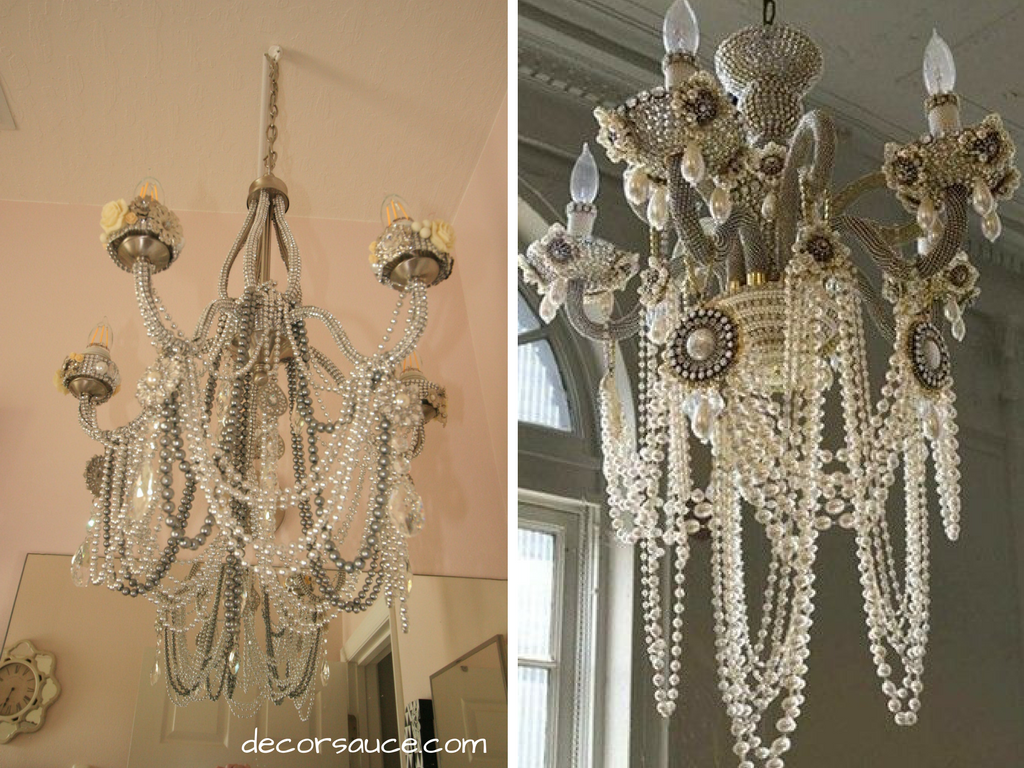
What do you think?

Leave a Reply