Okay friends, today I’m going to tell you exactly how I refinished my oak kitchen cabinets using Milk Paint and Gel Stain by General Finishes. I am not being compensated by General Finishes, I just love their products for the beautiful finish and ease of use! I would not recommend my method using latex paint because I would not recommend latex paint for anything but walls. Milk paint is similar to an enamel based paint and is not the least bit tacky once dry.
Here’s what you’ll need to complete this project:
1. General Finishes Gel Stain Java: https://amzn.to/32a2qSu
2. General Finishes High Performance Top Coat gallon: https://amzn.to/2SKMDWZ
3. General Finishes milk paint in Antique White: https://amzn.to/3mLWxES
4. Foam brushes: https://amzn.to/39PPnrR
5. TSP Substitute: https://amzn.to/2HDqa87
6. Degreaser/Deglosser: https://amzn.to/32bcXNj
7. Extra fine grit sanding sponge: https://amzn.to/2SKF5DK
8. A few rags, disposable gloves and a stiff bristle brush for cleaning
9. 1-2 full weekends, this project is a total pain in the @#$ takes time but it’s worth it!
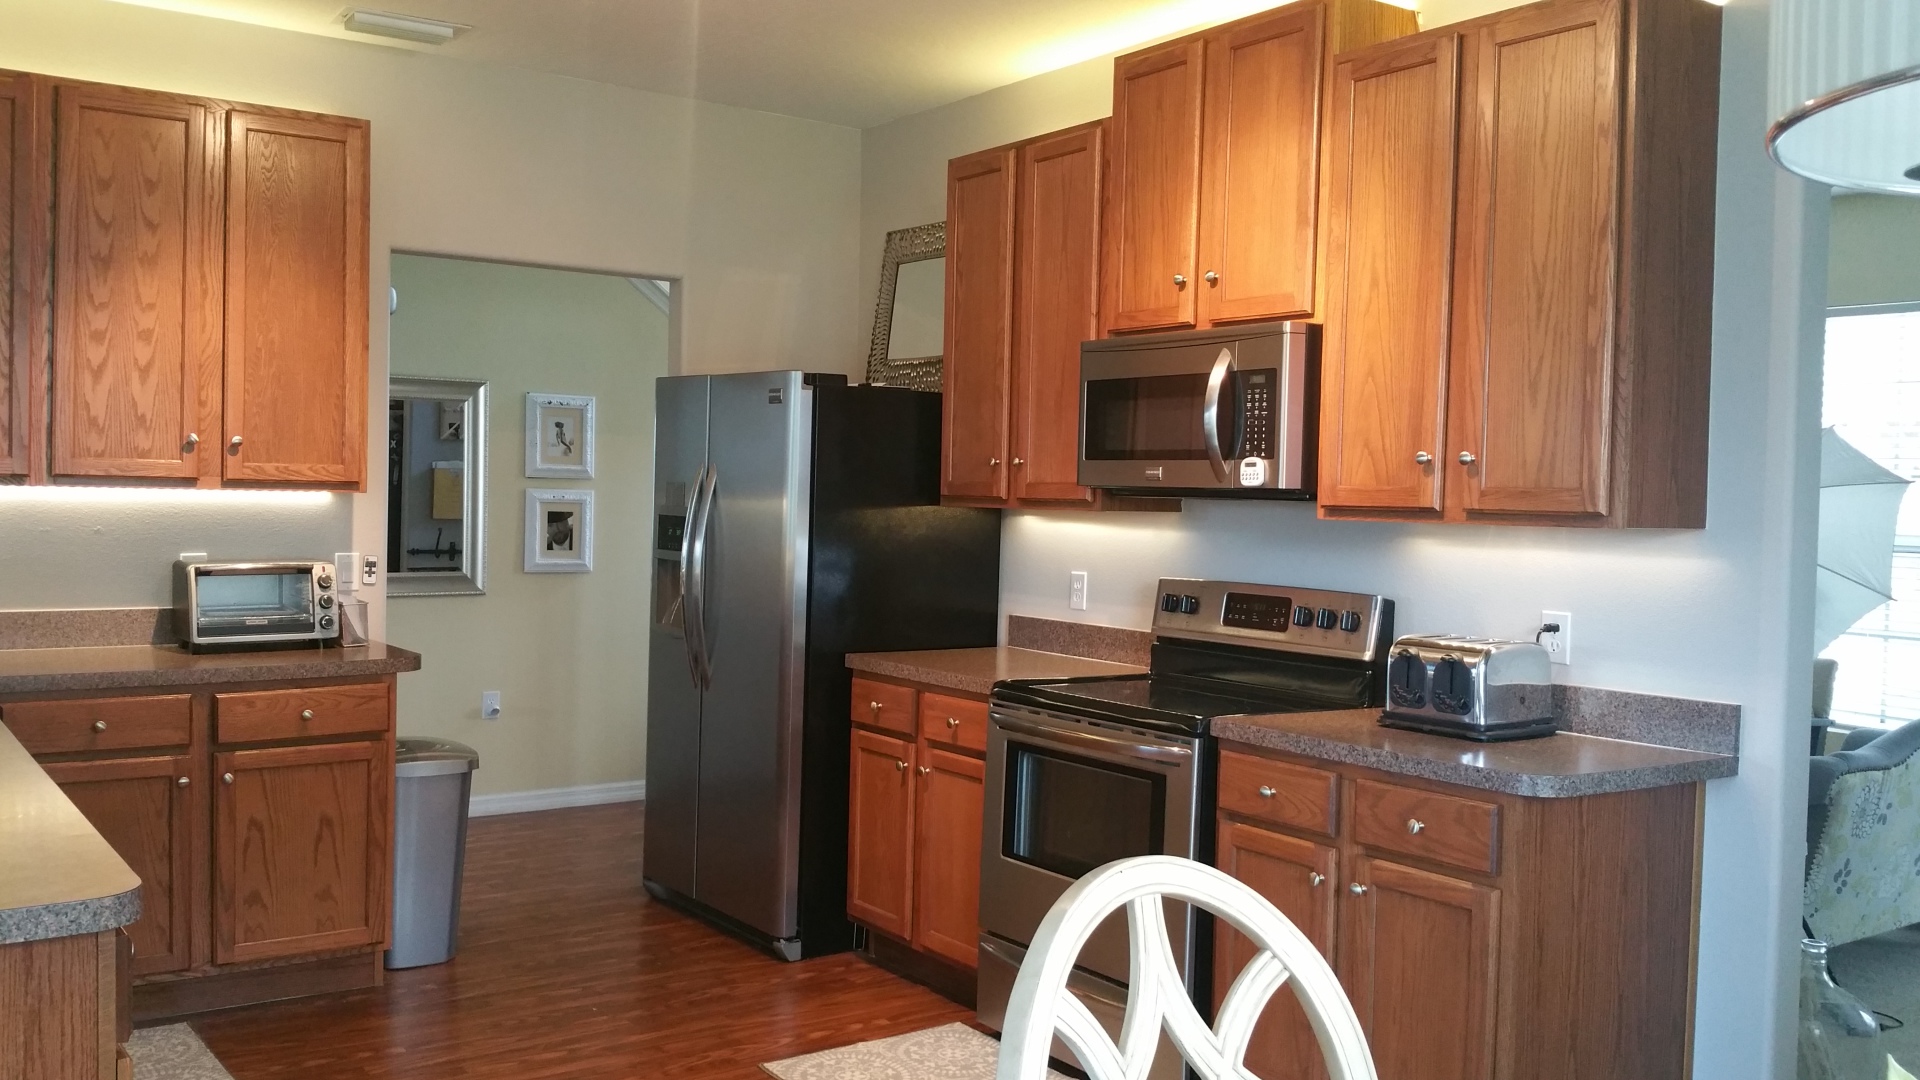
Here is the before everything:
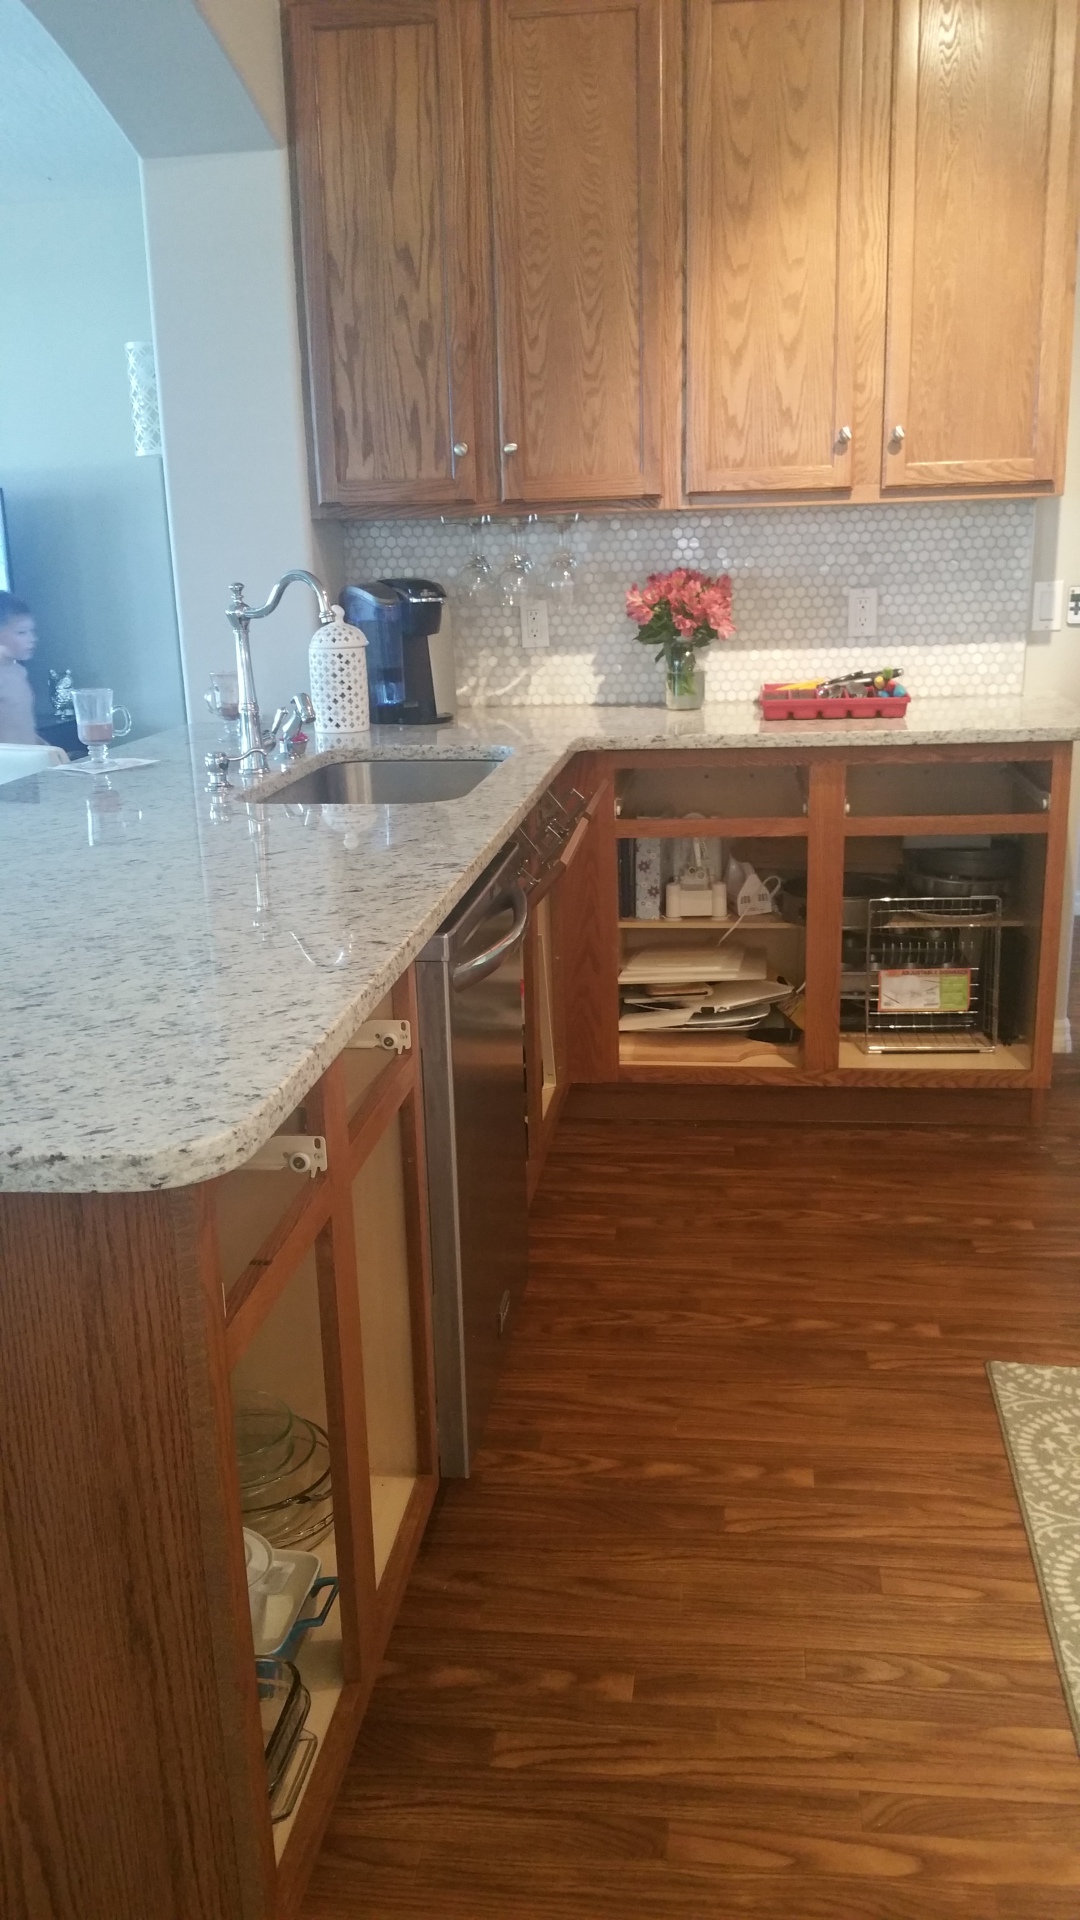
First you will need to remove all of your cabinet doors and drawers and LABEL EACH ONE AND ITS HARDWARE so that each door/drawer gets put back in its rightful place with its rightful hardware so that you do not have to re-level everything later. I started at one end of my kitchen and assigned each a number. Then, I wrote that number in the hardware “hole” of the door which would not be painted over. Next, I wrote TL for top left, TR for top right, etc. on the back of the hardware and put them in a baggie with the cabinet door number on it. Shoo! Already a lot of work! Have I lost you yet? Don’t worry, we’re just getting started…
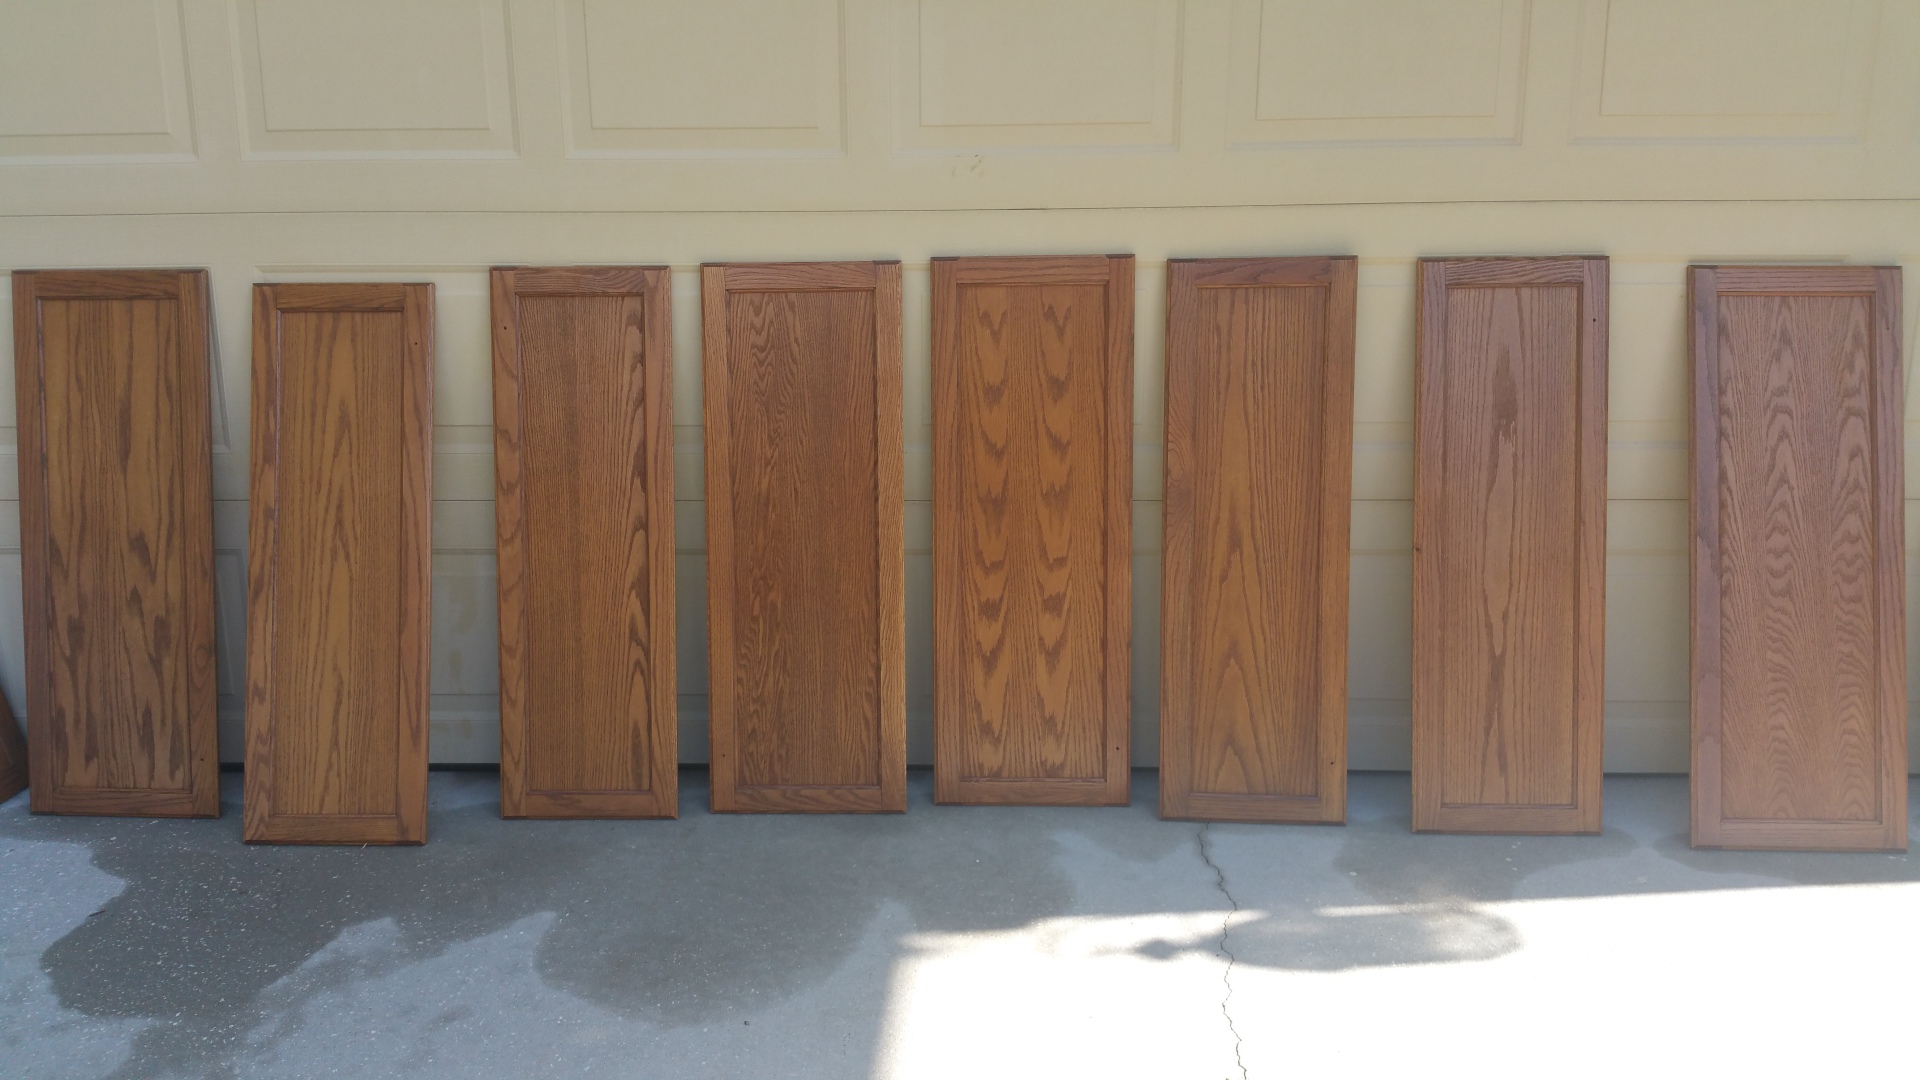
Next you make sure all the little round bumpers are pulled off the doors and drawers or you will paint over them and it won’t look awesome. Schlep your doors outside into the sun. My doors are solid hardwood so I opted to utilize the hose a bit to help me out. Everyone says this is a no-no, but I’m a rebel. Next, you will:
- Lightly lightly sand each door/drawer with your sanding block to scuff up the surface.
- Fill a bucket with your TSP solution and water according to the directions on the bottle. Wear gloves.
- Dunk your stiff bristle brush in the solution and then go to town scrubbing your cabinet doors.
You will want to make sure they are CLEAN since grease+paint= look crappy because your paint will be chipping immediately. Kitchens are full of accumulated oils whether you cook like Paula Dean or not. Don’t skimp on the prep here, you will rue the day regret it!
Once they are scrubbed clean of any oils, grease, and dust then you will thoroughly rinse them off. This is where I used the hose. But remember, I live in Florida so getting dried by the sun is not a problem. I let them sit outside for about an hour and while they were drying, I set up tarps inside. (I opted to paint them inside to cut down drying time since I live in humid Florida).
I wanted to slightly lift them off the ground for painting the edges so I put wide and shallow food packing boxes (the kind from Sam’s Club) on top of the tarps. BUT BEFORE WE PAINT we do one final preparation step and that is to use the degrease/degloss product. You can do this inside on the tarps or outside. Wear gloves, and apply it according to the directions on the bottle. I did not rinse after this step because the bottle said I didn’t have to, and I always listen to the bottle when it gets me out of extra work. I also did not use primer. If you want to use primer this is when you would use it. I did not and it worked out fine, and has 100% held up over the past 12 months with no chips. If you do use primer, only use it under light paint colors or have it tinted for your specific paint color. You do not use primer under gel stain.
NOW you are ready to paint. I did not desire to go all over the top to cover up the wood grain but I know that some people do. If you look for the wood grain in my cabinets you will easily see it. I happen to like this. It lets them keep their subtle character but it’s not all up in your face like when it’s not painted.
Ok, I started with the back side of the doors. Sorry to be the bearer of bad news, but you have to do one side at a time and let it dry in between coats for at least 24 hours for the milk paint. For the gel stain it’s 2-3 days. This is the hard part because it requires your patience, which you do not like to give (if you’re me). Make sure you double check your doors for pooling paint and drips (especially on the sides) before you walk away to let it dry or it will be hard to fix later without completely sanding and starting over, trust me I KNOW. The milk paint has self leveling properties so most of your brush strokes will disappear during the drying process, especially if you use the small roller I suggested above.
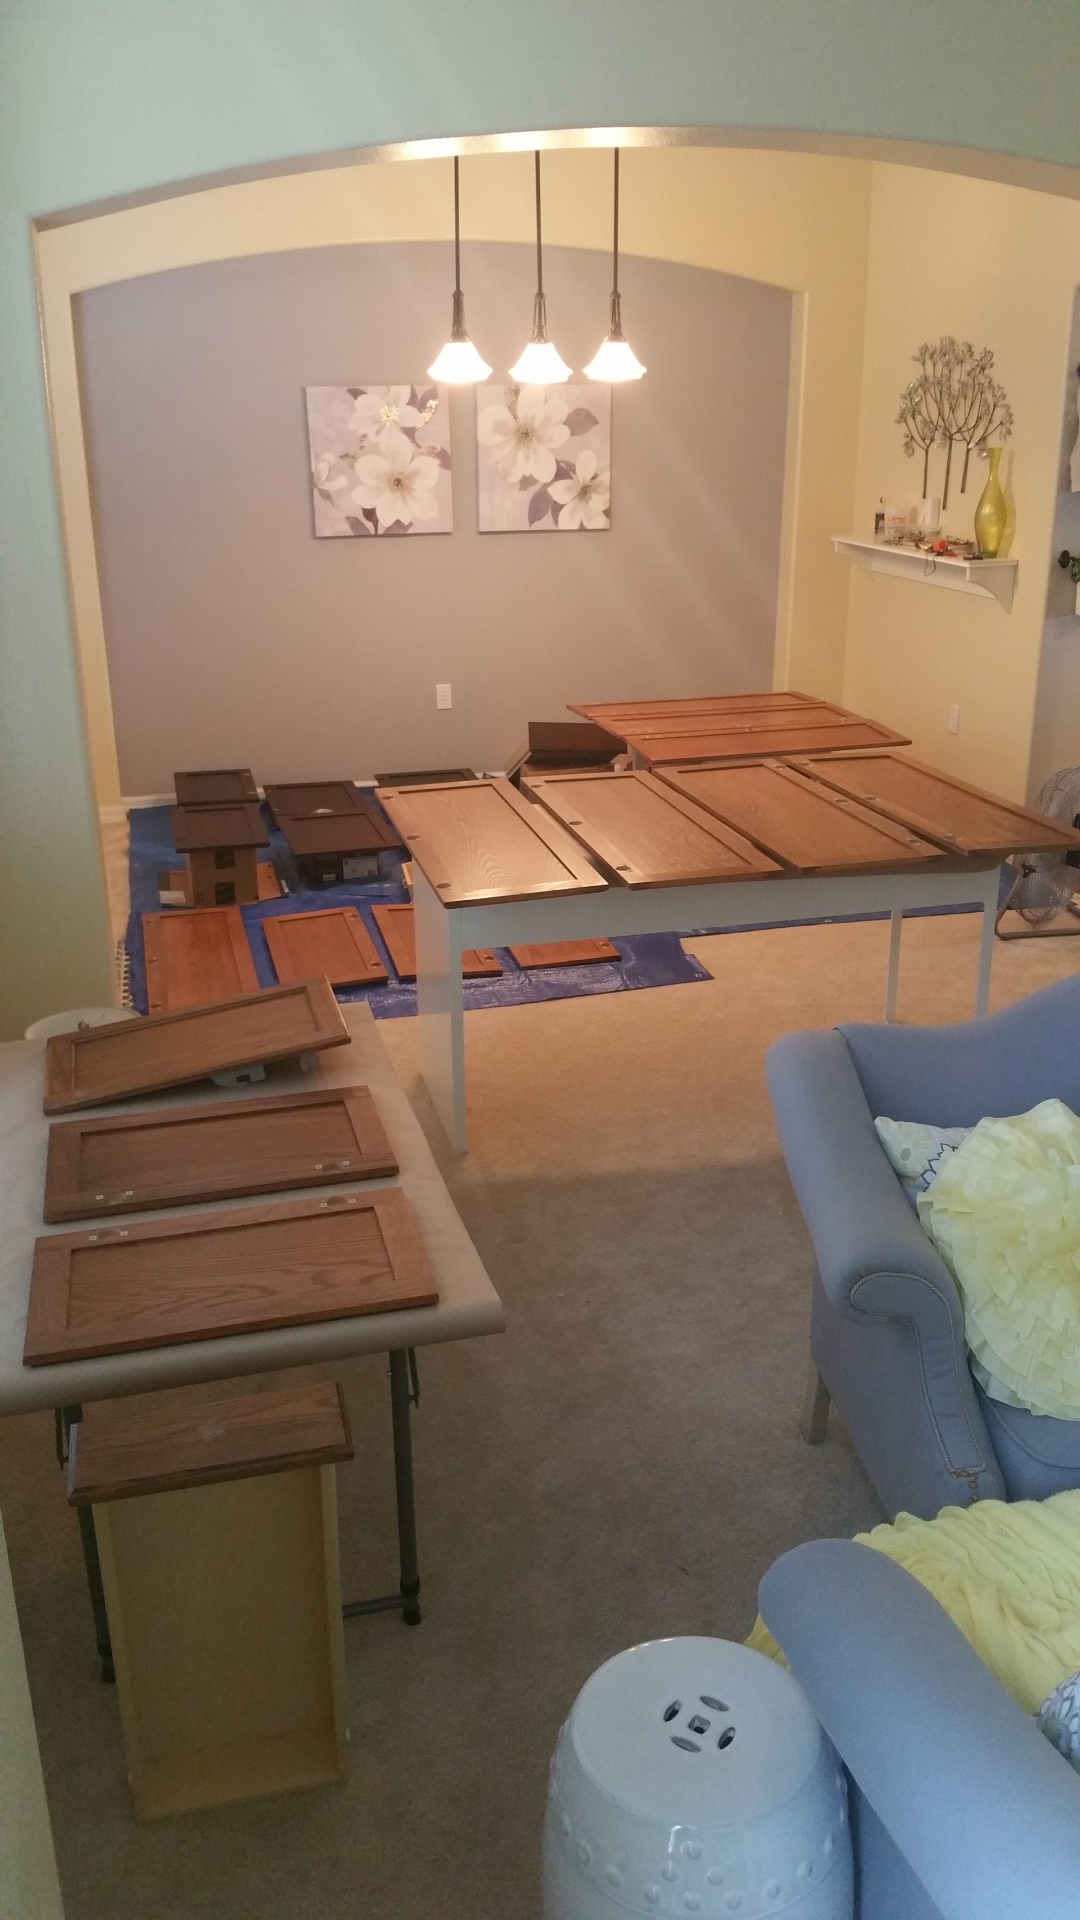
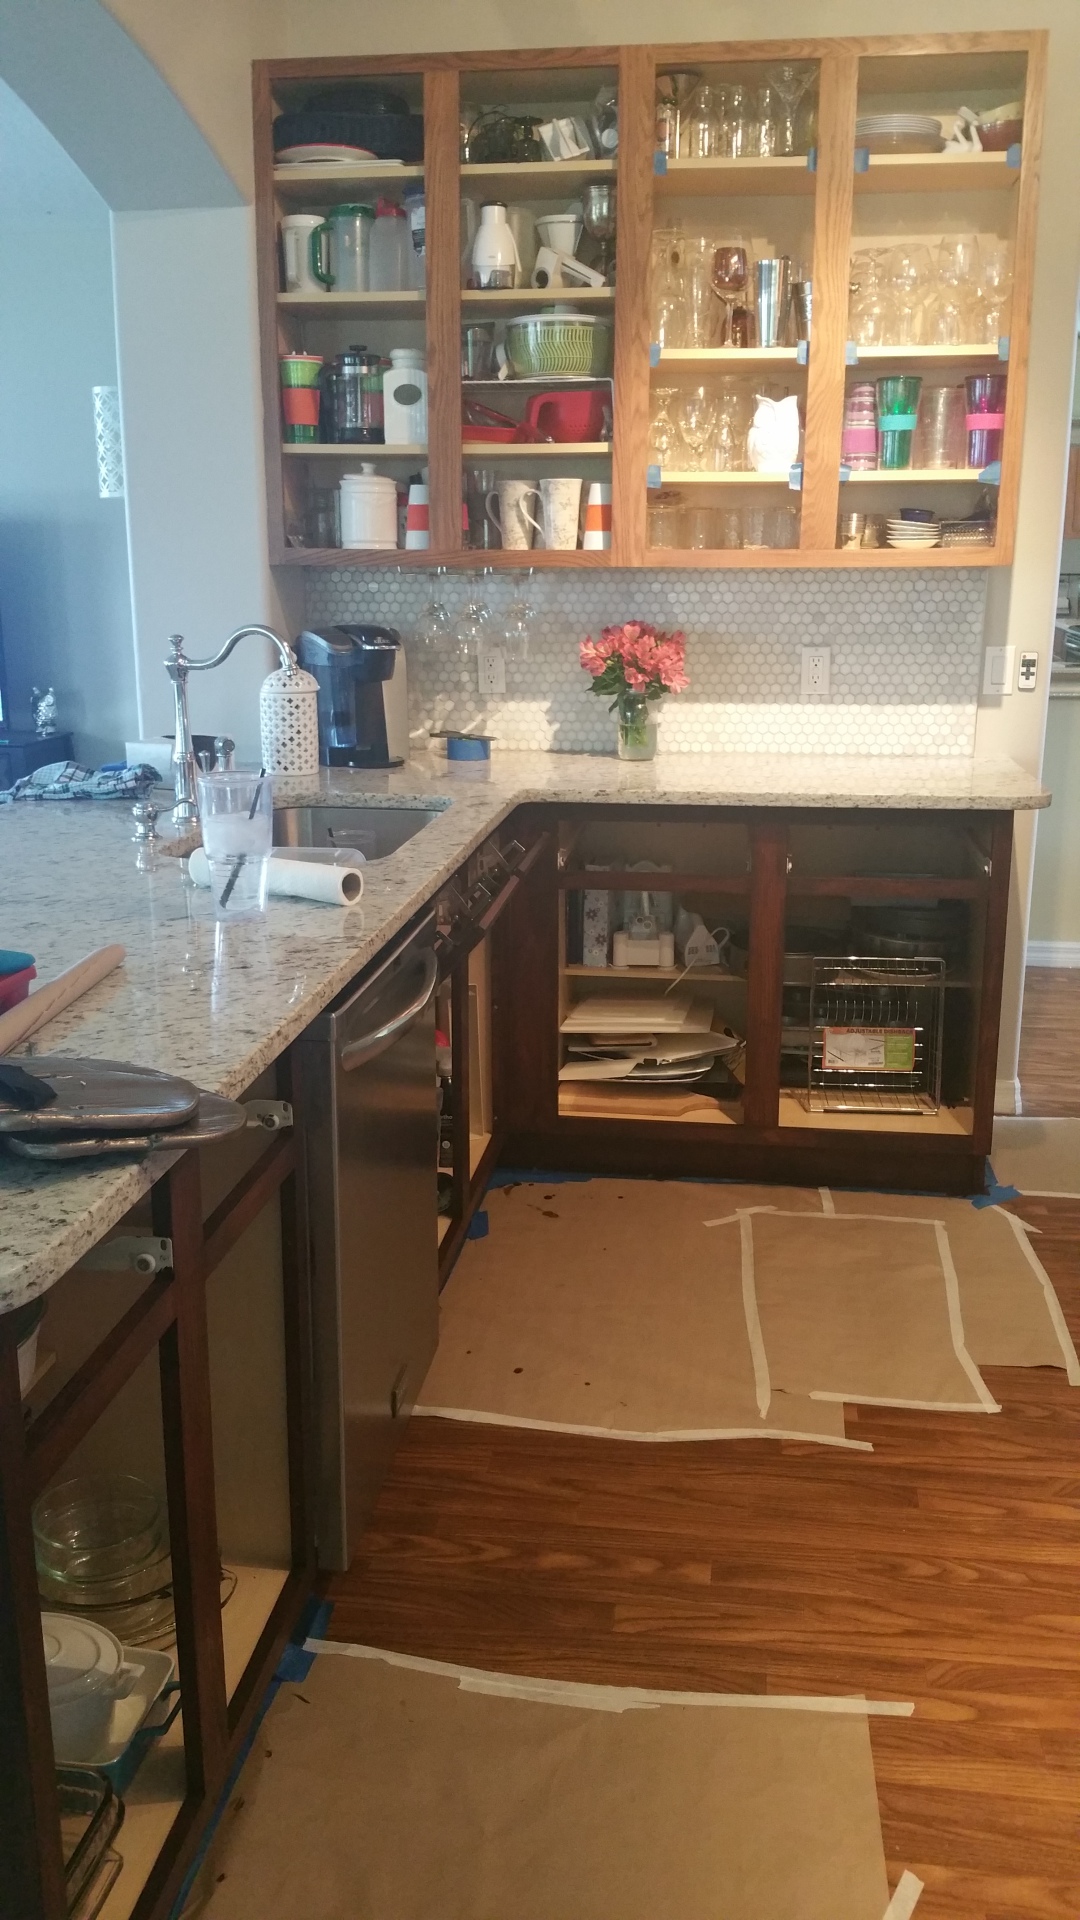
While you’re waiting for your doors to dry you can start on your cabinet boxes. You will need to do the same cleaning process on the boxes that you did on the doors, minus the schlepping them outside and hosing them off step. They are mounted to the wall so do your best to work around that to get them CLEAN. You do not need to empty them, but you will want to tape them in the small area of wood in the middle of the doors so that you don’t paint the shelves themselves. You will also want to protect your floor. The boxes take much less time than the doors if you don’t empty them, which only a crazy person would. Here is what they look like during this part of the process:
I painted all the backs, let dry for a day, then flipped and painted the fronts and let them dry for a day. The milk paint took 3 coats on most areas and 4 coats on others, with a day of drying in between each coat. Priming would have cut down on the coats of the milk paint by half and in hindsight I would have used primer. The gel stain is different. You apply very light-medium coats to get a wonderful layered effect and you control how dark or solid looking you want them to be by the amount of coats and how thinly you apply it. I only did 2 medium coats of the gel stain on my cabinets which resulted in a lovely hand-scraped wood/hi-lighted effect. I have heard of some people using a sock to apply the gel stain, but I found it easier to control with a sponge paintbrush. Also double check for drips and pooling stain before you walk away, because this is nearly impossible to correct.
After you are satisfied with all of your many coats of paint and stain and it’s dried for a couple of days, it’s time to apply your General Finishes High Performance Top Coat. I used it over both paints. You apply it in 2-3 thin even coats with a sponge paintbrush. Careful it’s a little drippy. General Finishes recommends sanding in between coats but I was too lazy. It’s fine if you don’t sand it, but don’t skip it! It only takes a couple of hours to dry in between coats. Confession: I was so excited to get the doors back on that I kind of forgot to do this to the doors while they were off. I had already done the cabinet boxes while I was ever-waiting for the doors to dry, so I just applied the top coat to them while they were hanging. No big deal, but try to remember and not be me. Because being me is hard sometimes.
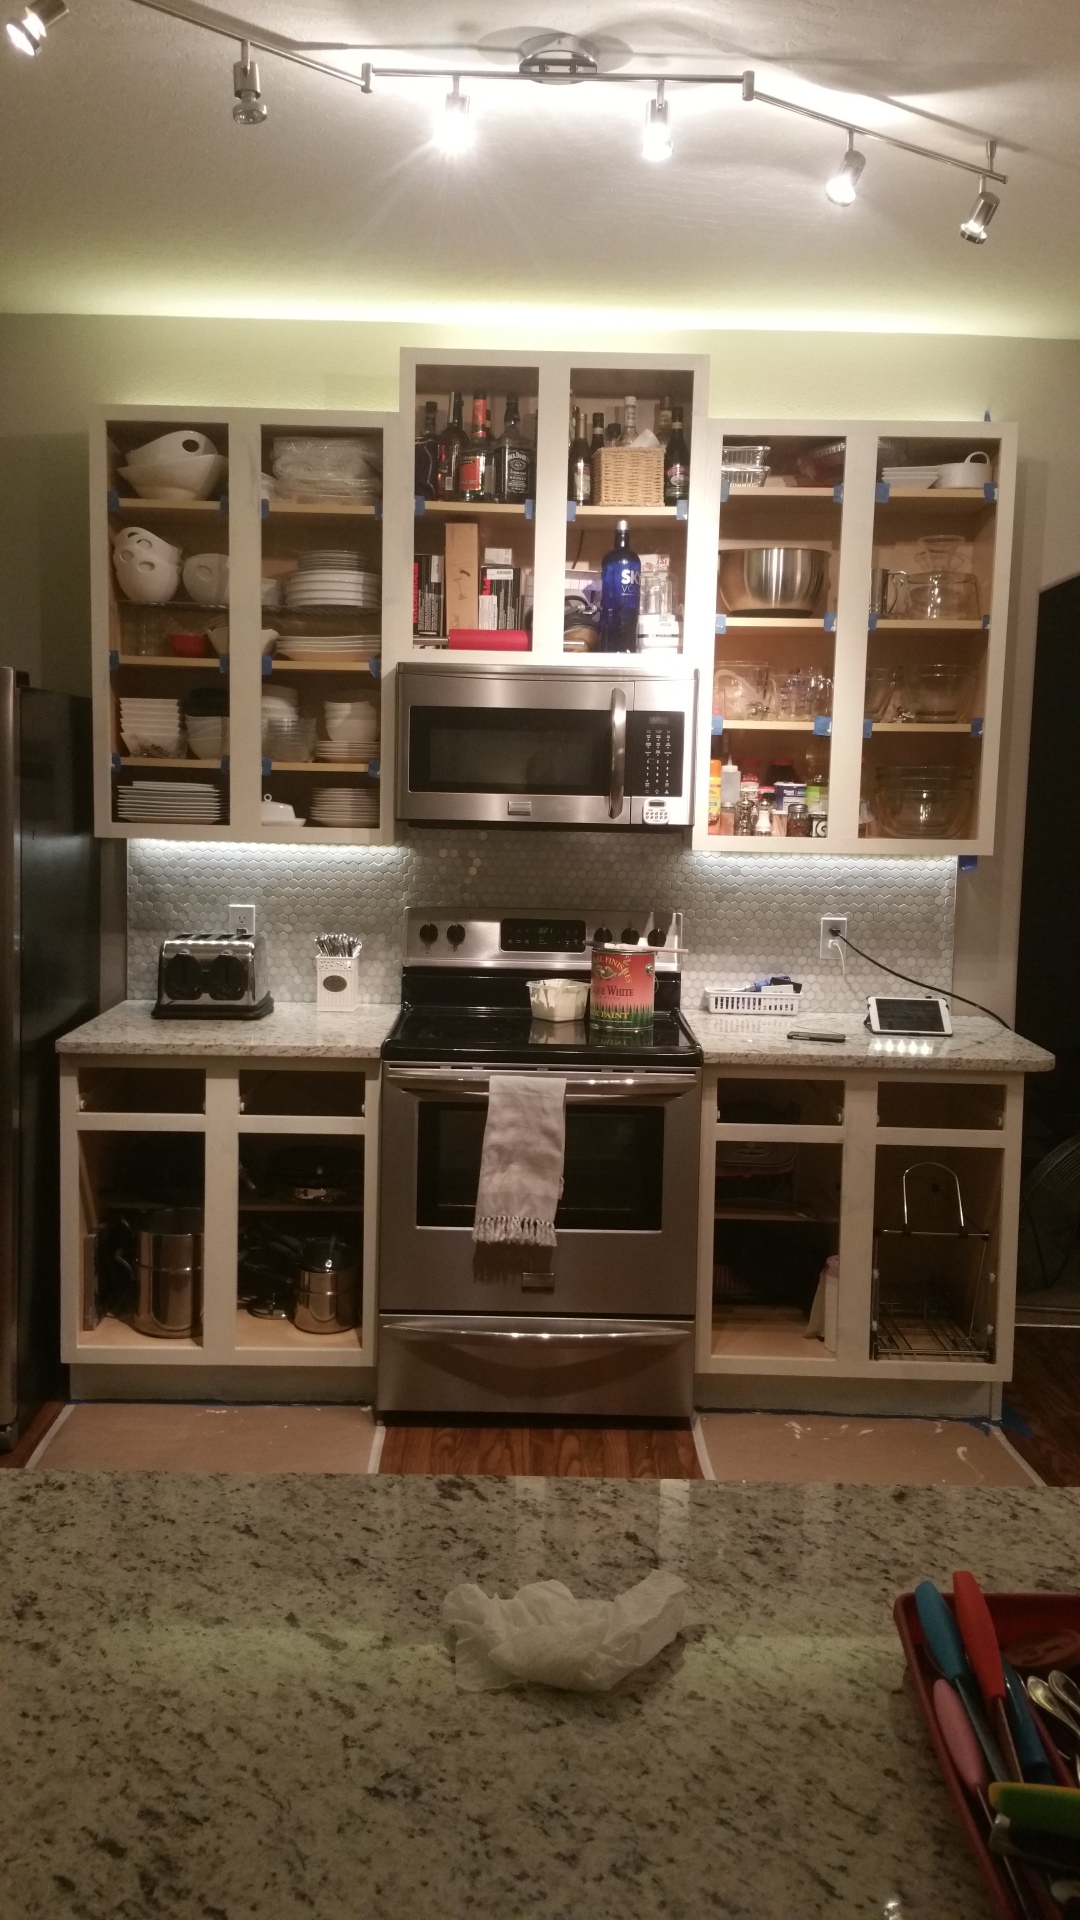
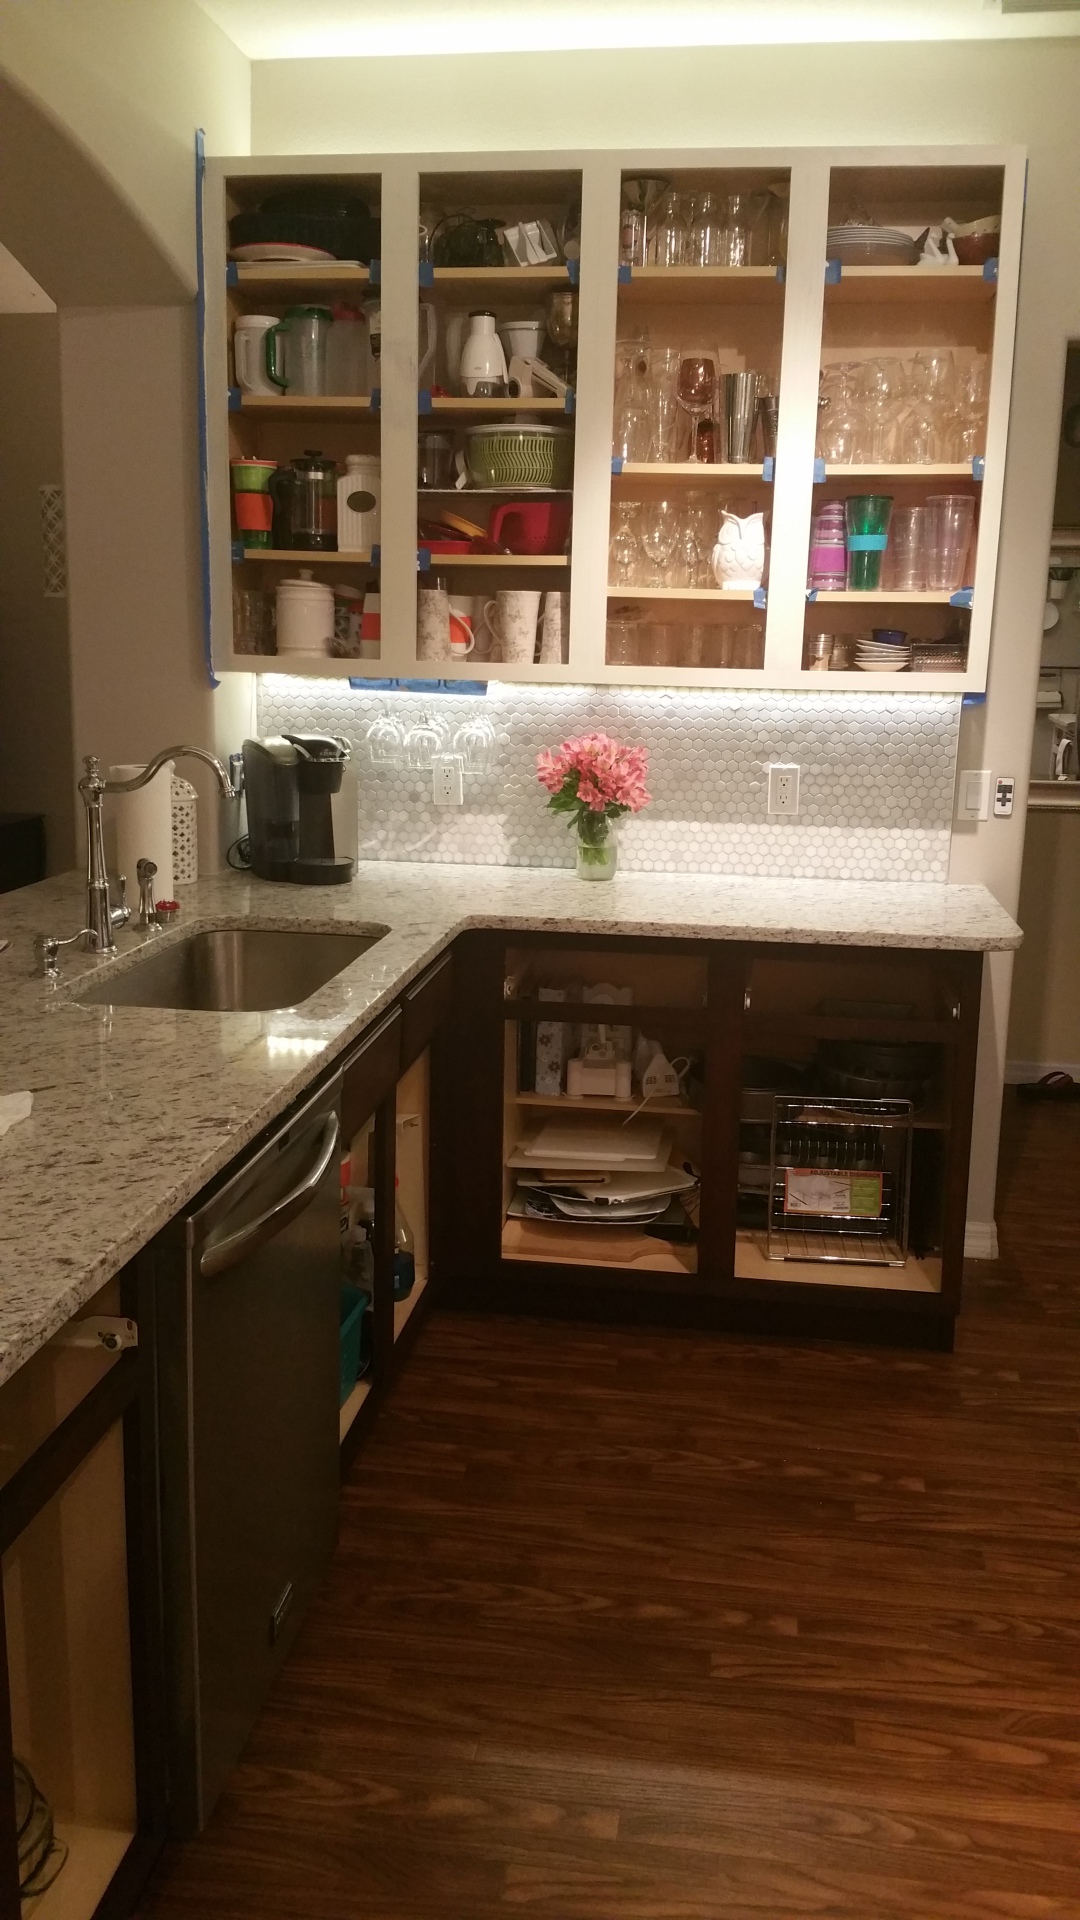
Once everything is completely dry to the touch you can start putting you kitchen back together. The milk paint and gel stain take about 30 days to fully cure which is the same as most paints, so just be easy on them until then, i.e. no exploding volcano science projects in the kitchen until your cabinets can take a scrubbing.
I was responsible and added new rubber bumpers back to the doors and drawers. I also changed my drawer hardware which required new holes to be drilled. Tip: They sell a handy template at the hardware store for this so you can’t screw it up.
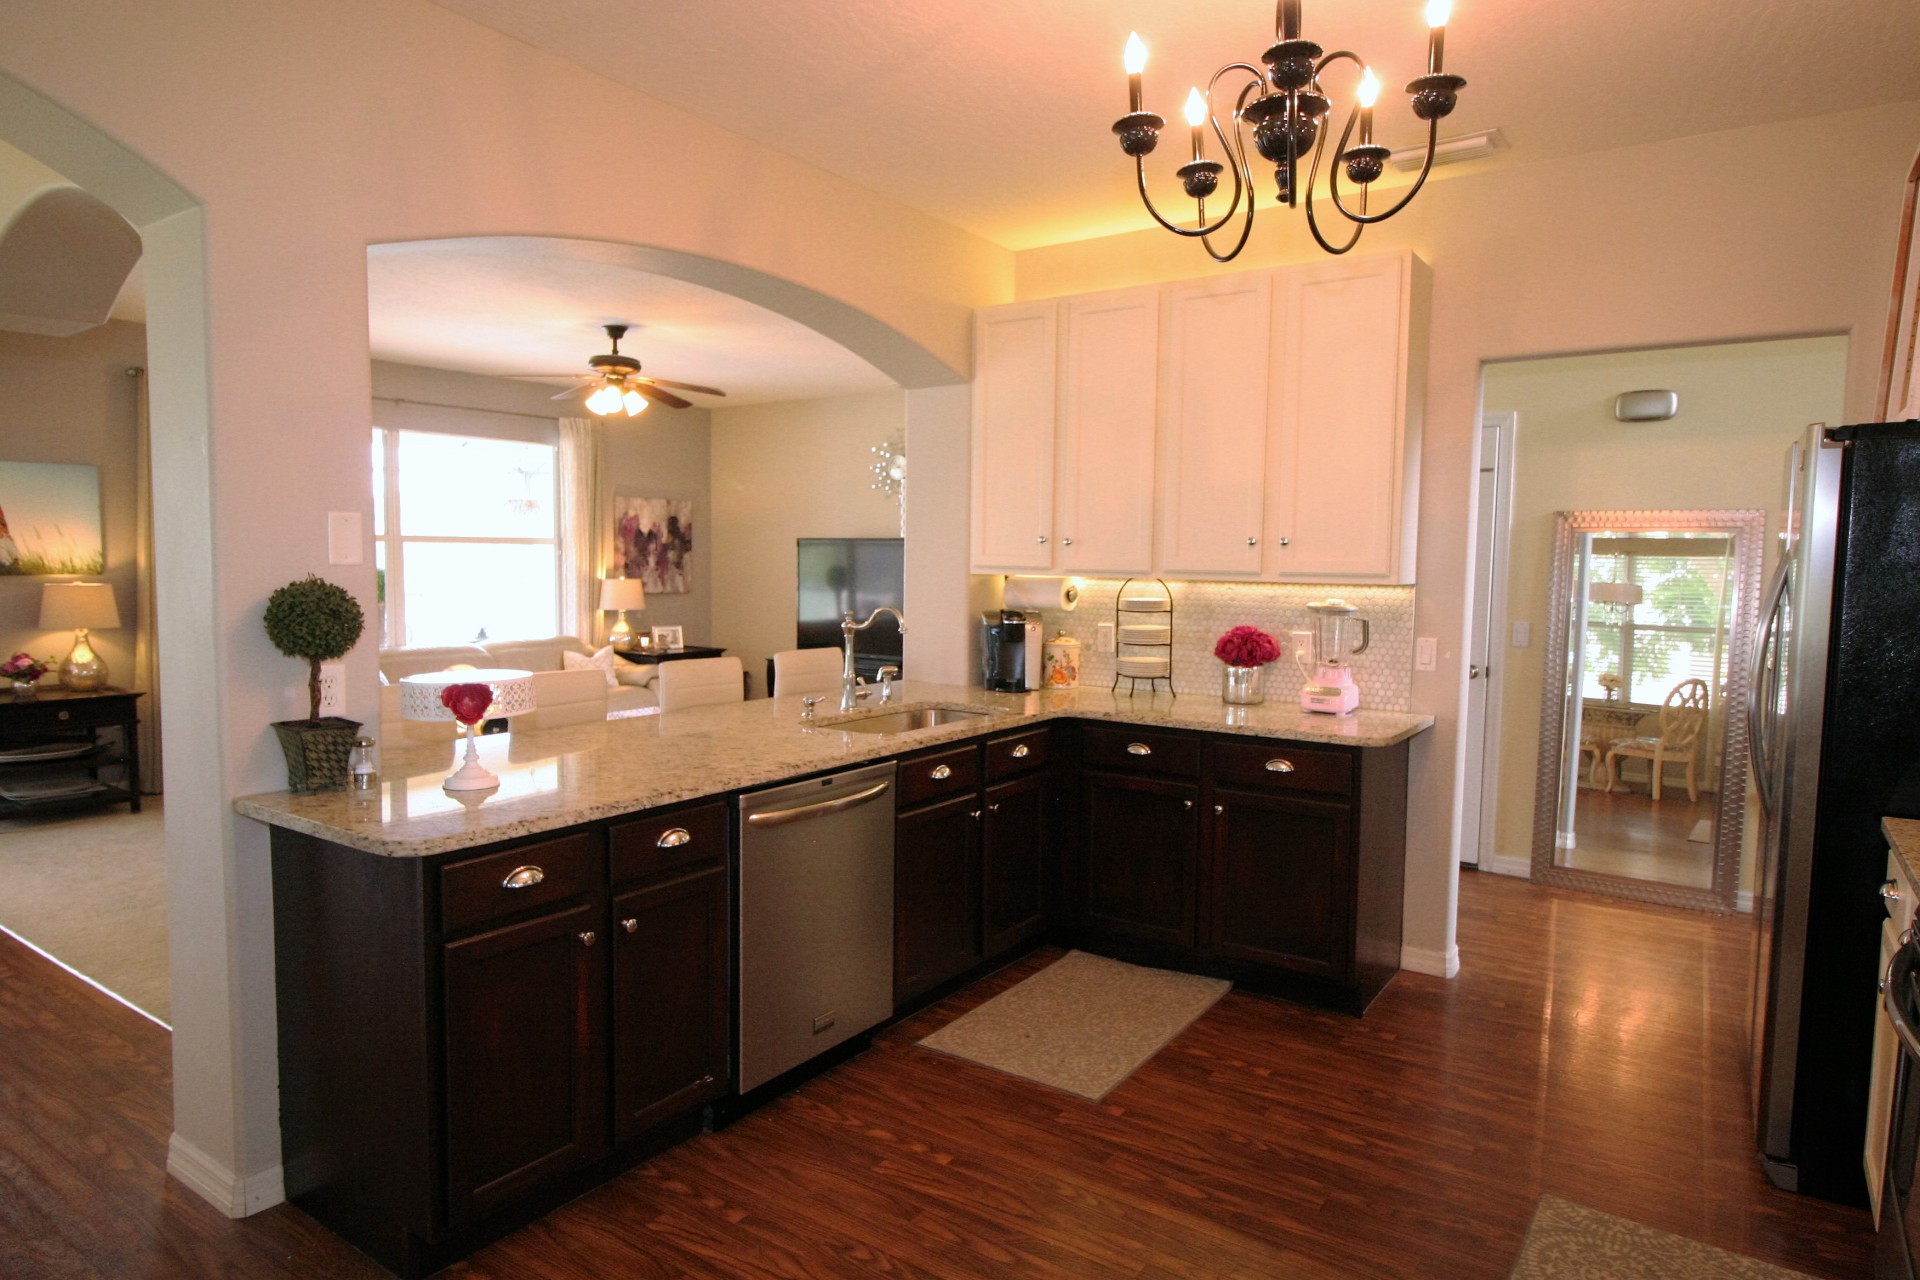
Now (after you’ve collapsed from exhaustion and many temper tantrums) it’s time to step back and lovingly admire all of your blood, sweat, and tears. There will be plenty of each. Here’s mine:
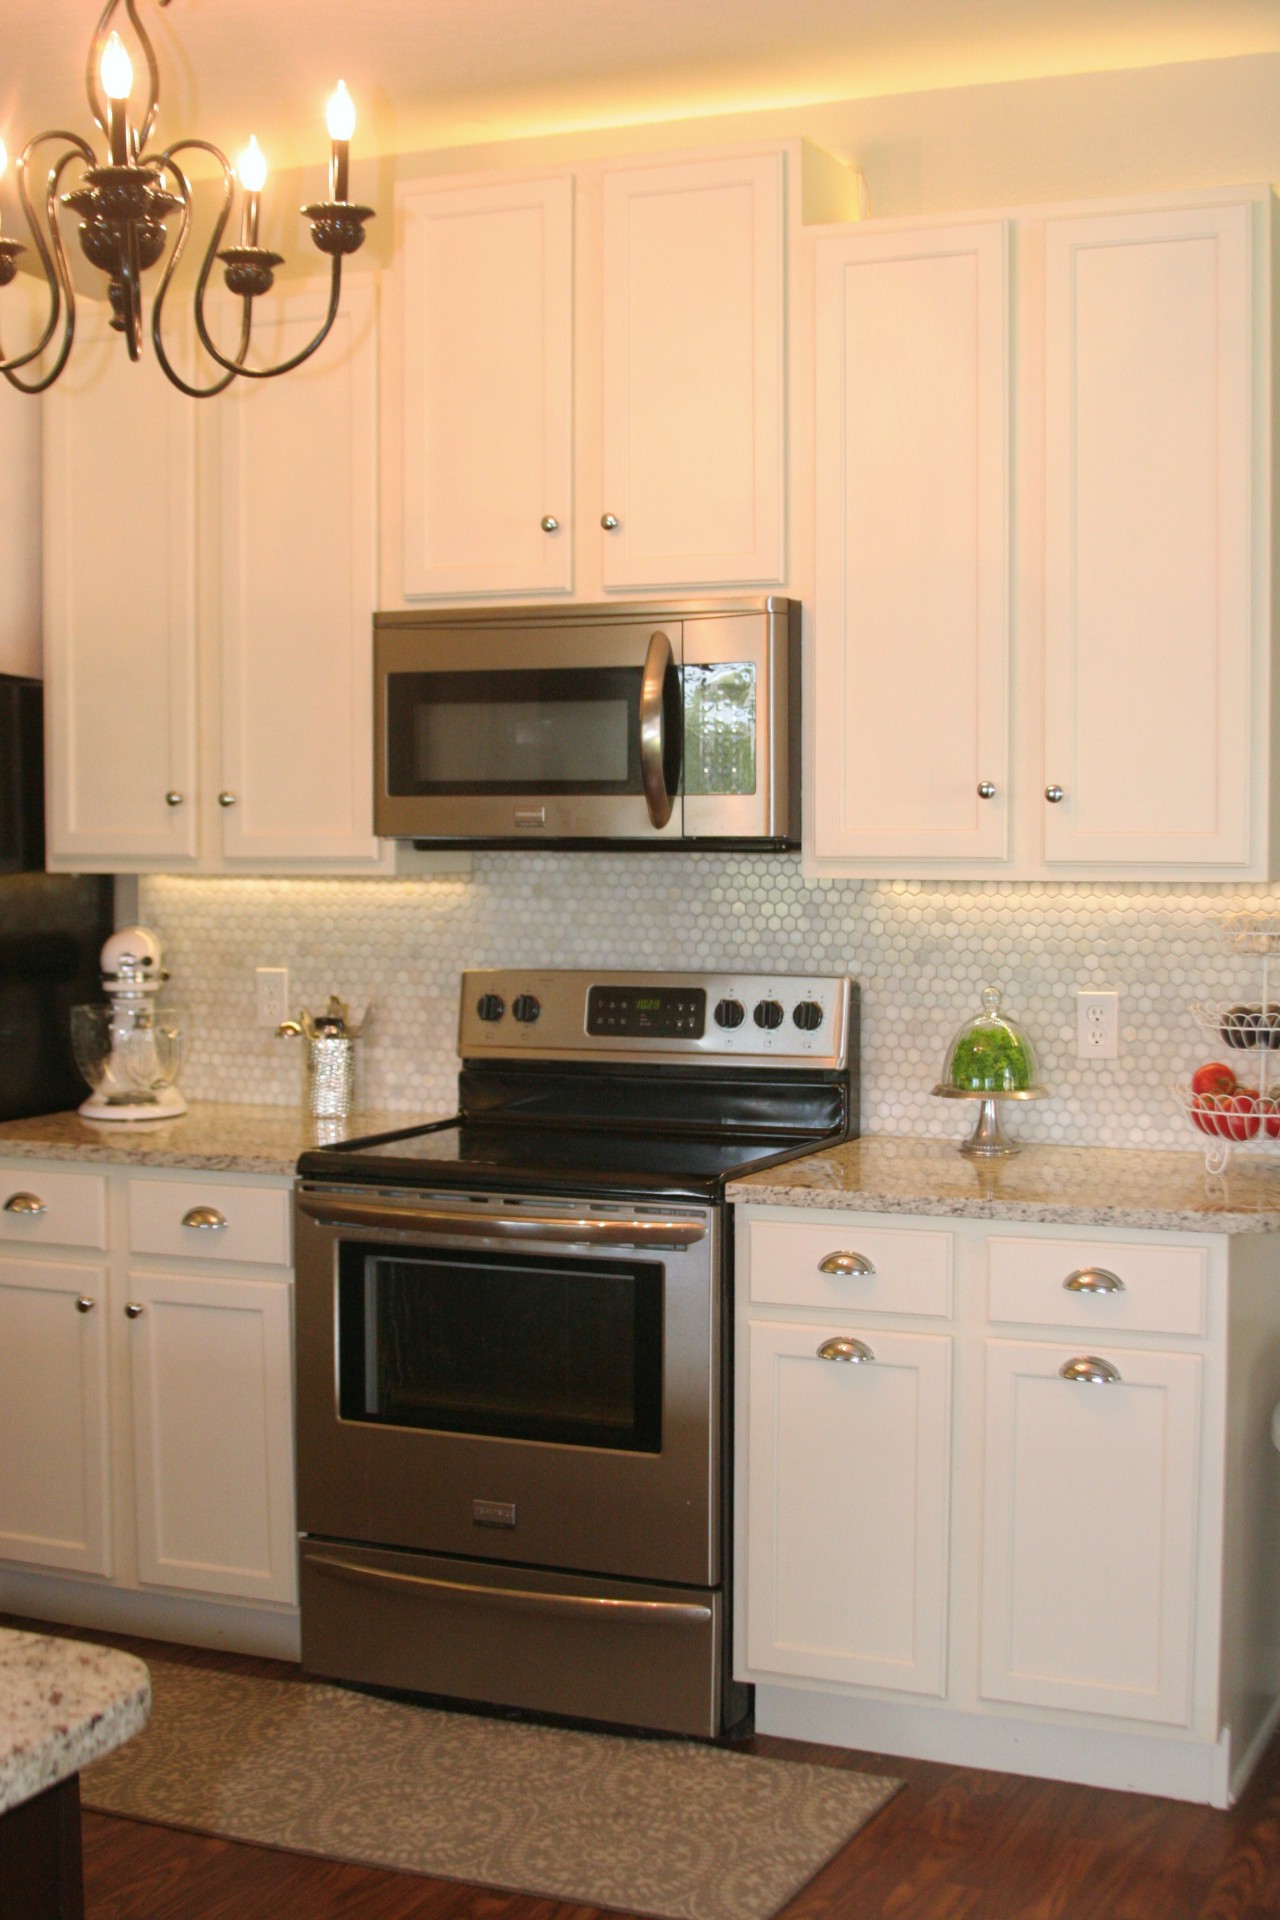
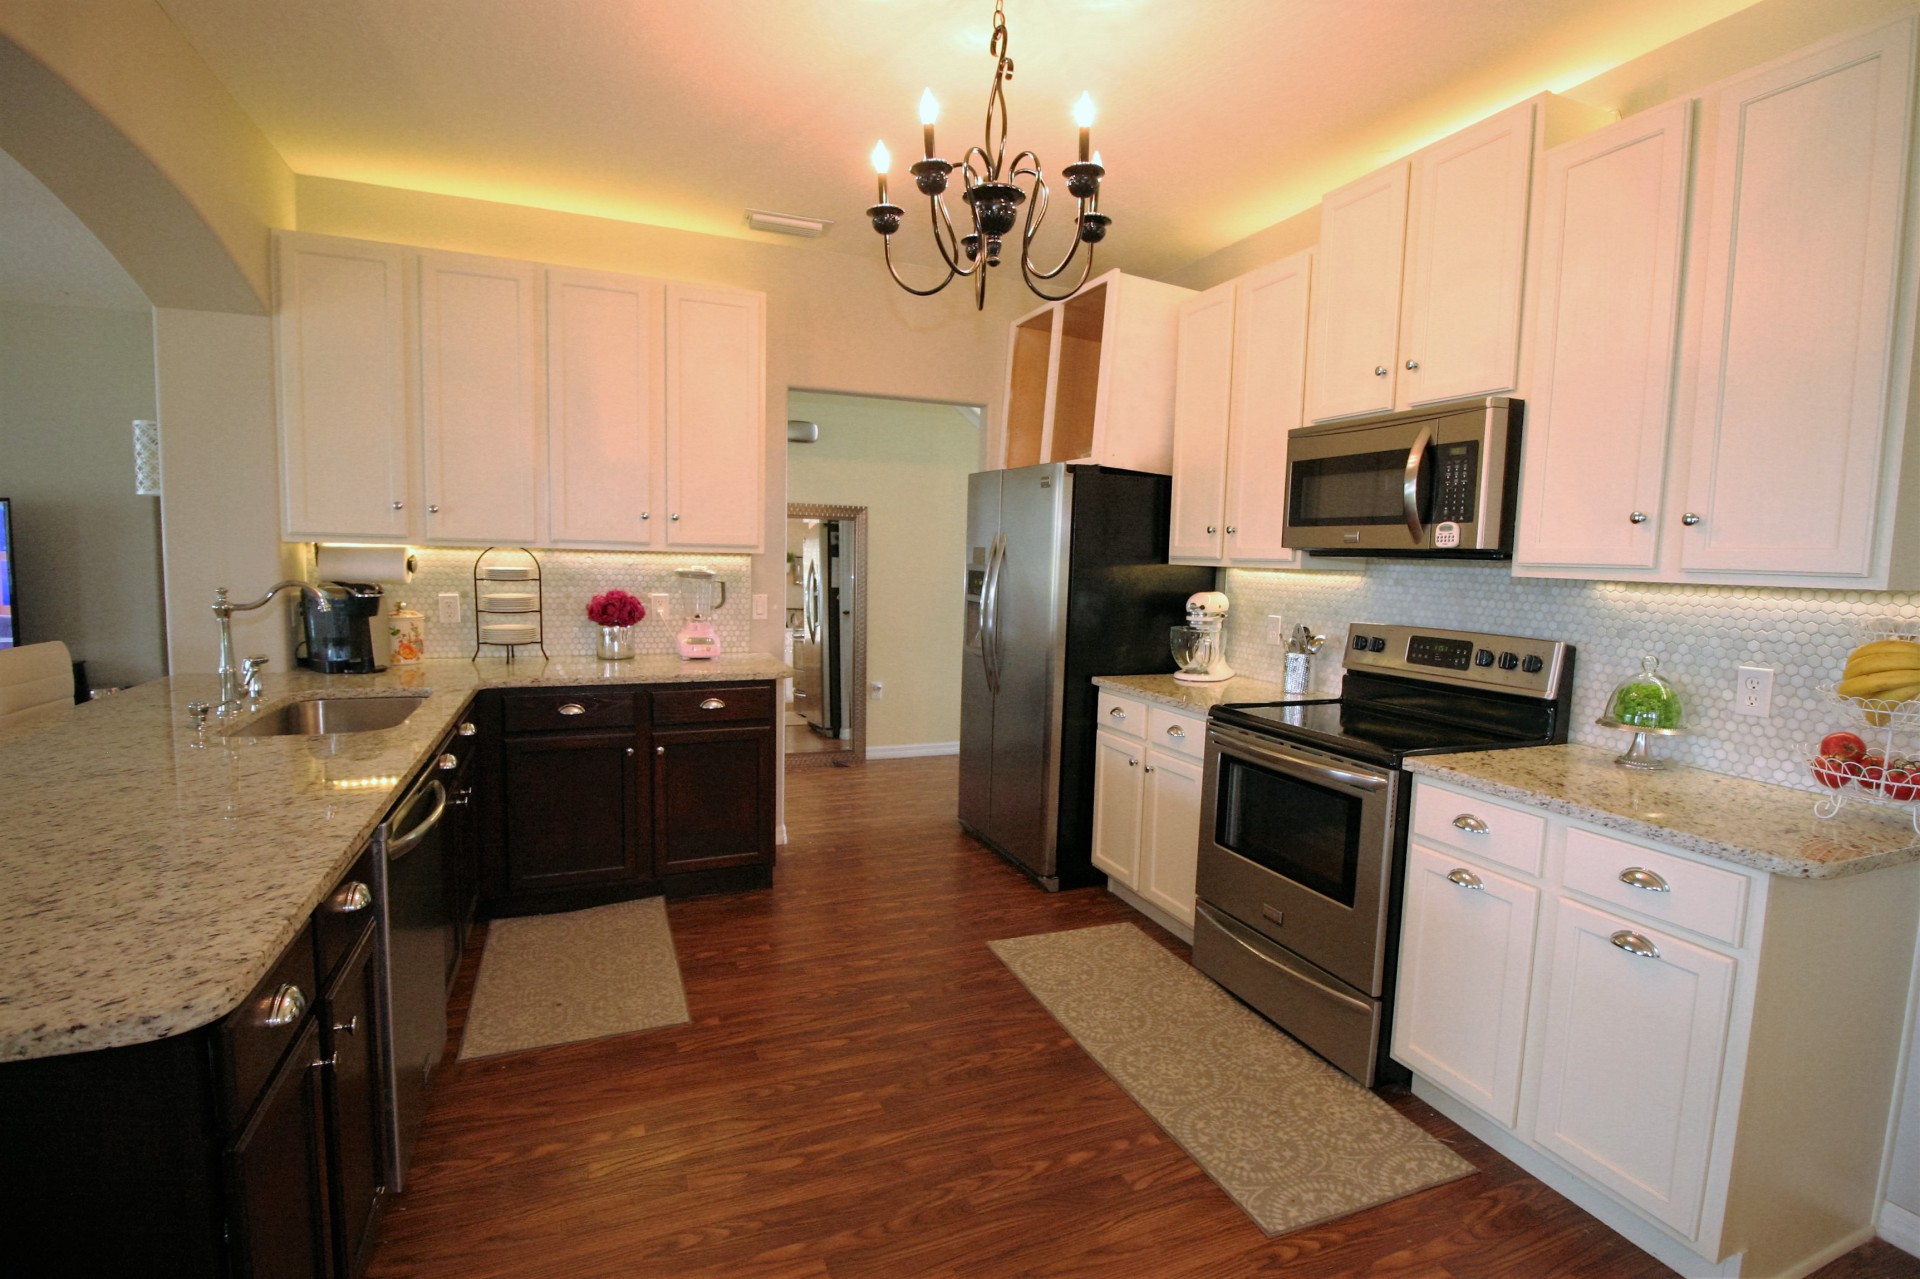
I hope this tutorial gives you the courage to stop hating your dated oak cabinets and give refinishing a go for yourself. You can’t spend less and make a larger impact than this. It was totally worth it, and I know you’ll think so too! Once you’re done. You’ll thank me. I promise you will. Just trust me and go ahead. It will be fine.

Leave a Reply