Welcome to part 2 of my “lipstick on a pig” transformation of my master bathroom! In this post, I’m going to talk to you about the wonder that is Rust-Oleum Countertop Cover and why it works as a super fast, and decent temporary solution to ugly laminate counter tops for only $40. That’s right, my friends! For only $40 you can quickly and completely transform the look of your ugly bathroom counters. How cool is that?!
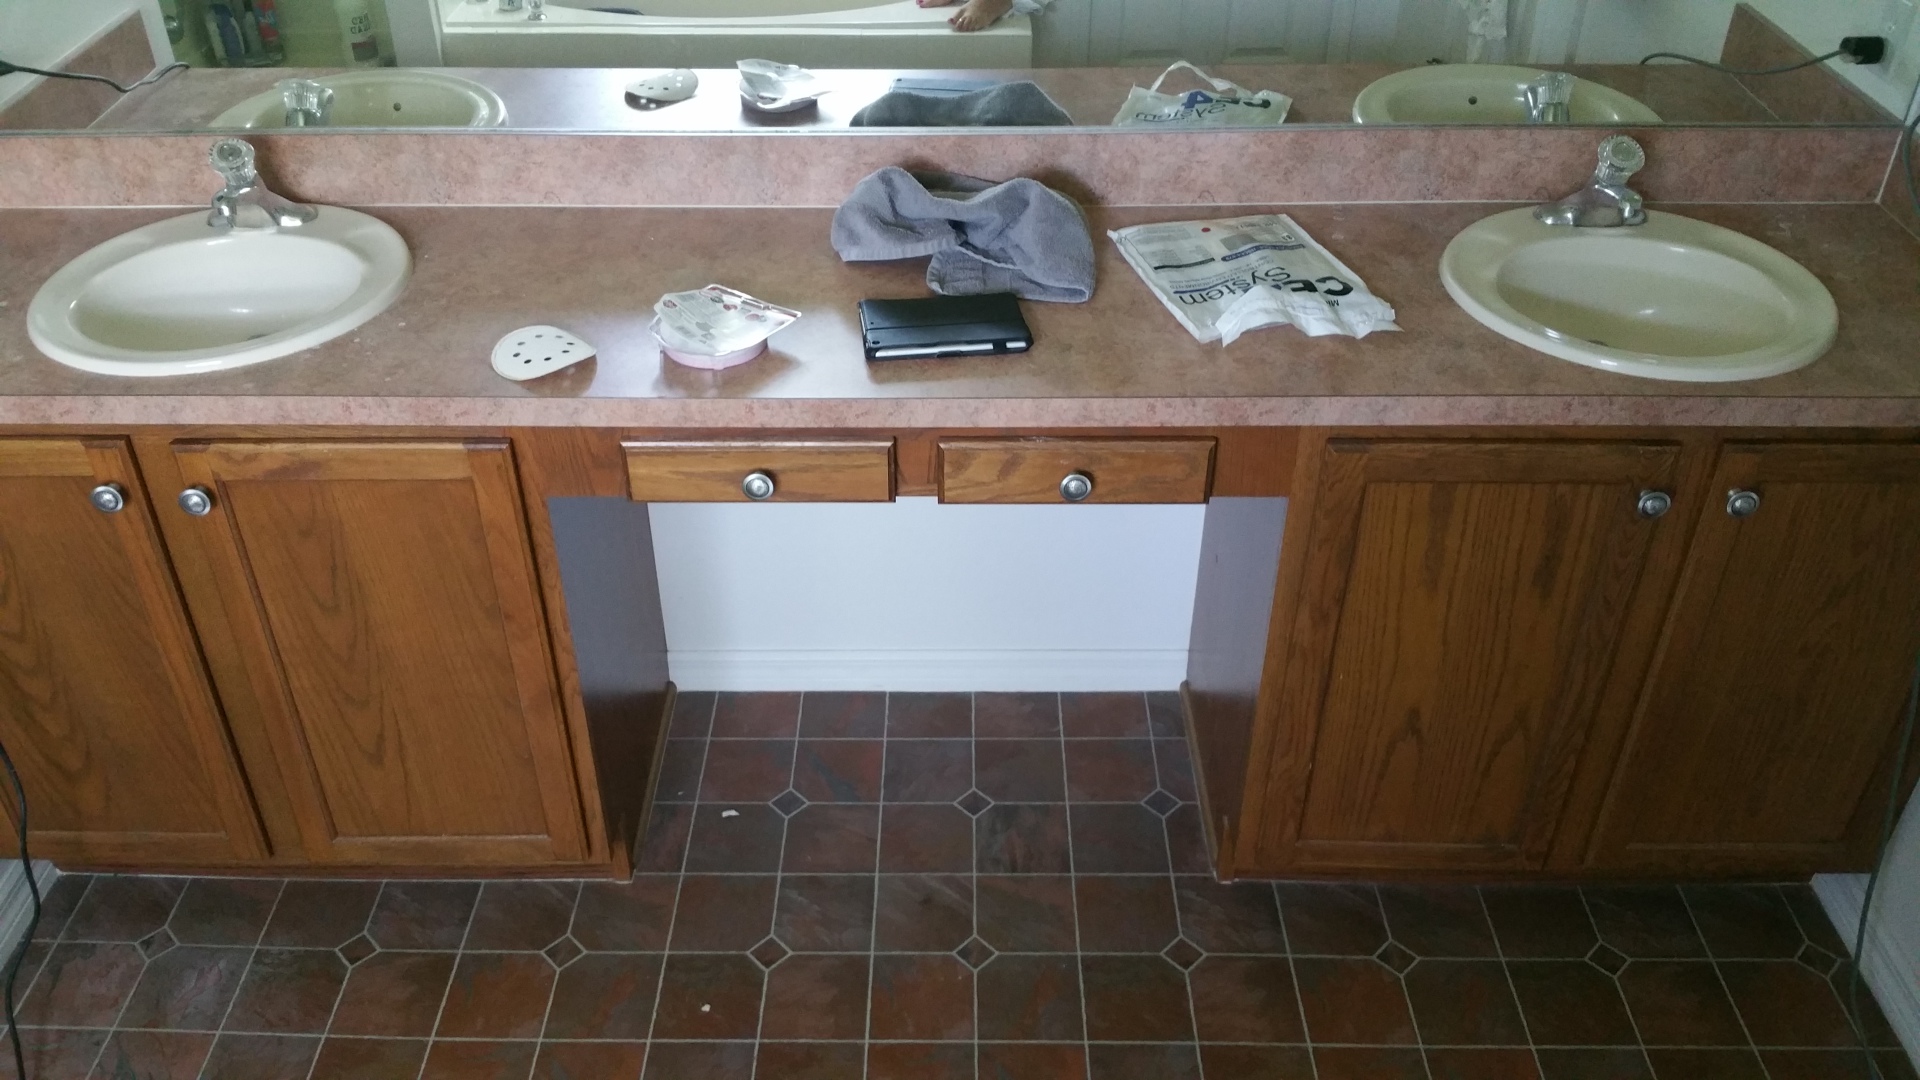
Just in case you don’t remember what I was working with before, here is a reminder:

It’s a real strip-mall-buffet feast for the eyes if I do say so myself.
Here is your supply shopping list for this quick countertop project:
- TSP solution for cleaning your countertops: https://amzn.to/2HDqa87
- A bucket and a few rags
- A fine sanding block: https://amzn.to/2HIXiv0
- BIN shellac primer: https://amzn.to/2HJqja
- Rust-Oleum Countertop Coating: https://amzn.to/3iZKVMl
- A small 4-6 inch roller and sponge: https://amzn.to/2RUuQf1
- A paint brush, my fav is: https://amzn.to/2HDebHE
The Countertop cover is currently only tintable to 16 colors and only 2 are light shades. I selected the color Linen which was the lightest with the least amount of yellow in it. If you are skilled and so inclined, it would probably not be that difficult to forgo the box tint and tint it yourself with acrylic paint. I was not so inclined, so Linen it is.
The first thing you need to do is take your sanding block and lightly rough up the surface of your countertops. You don’t want to damage them, your goal is to just lightly scuff up the gloss. This is so your primer will better adhere to the counters.
Next, mix your TSP substitute with water in your bucket according to the directions on the bottle, and grab your rags. If you have read my previous posts, you know that I am very bossy about thoroughly cleaning and prepping your surfaces before you begin painting. I know that no one wants to spend a half a day scrubbing when there’s a transformation laying ahead to witness, especially if you are a beginner. But I am here to help you therefore I will force you to do the stuff you don’t want to do! It is essential to remove all the buildup from body oils, makeup, and hairspray, etc. or else you will be coming to me whining about how your paint is chipping or bubbling up in a week. Need I say more?
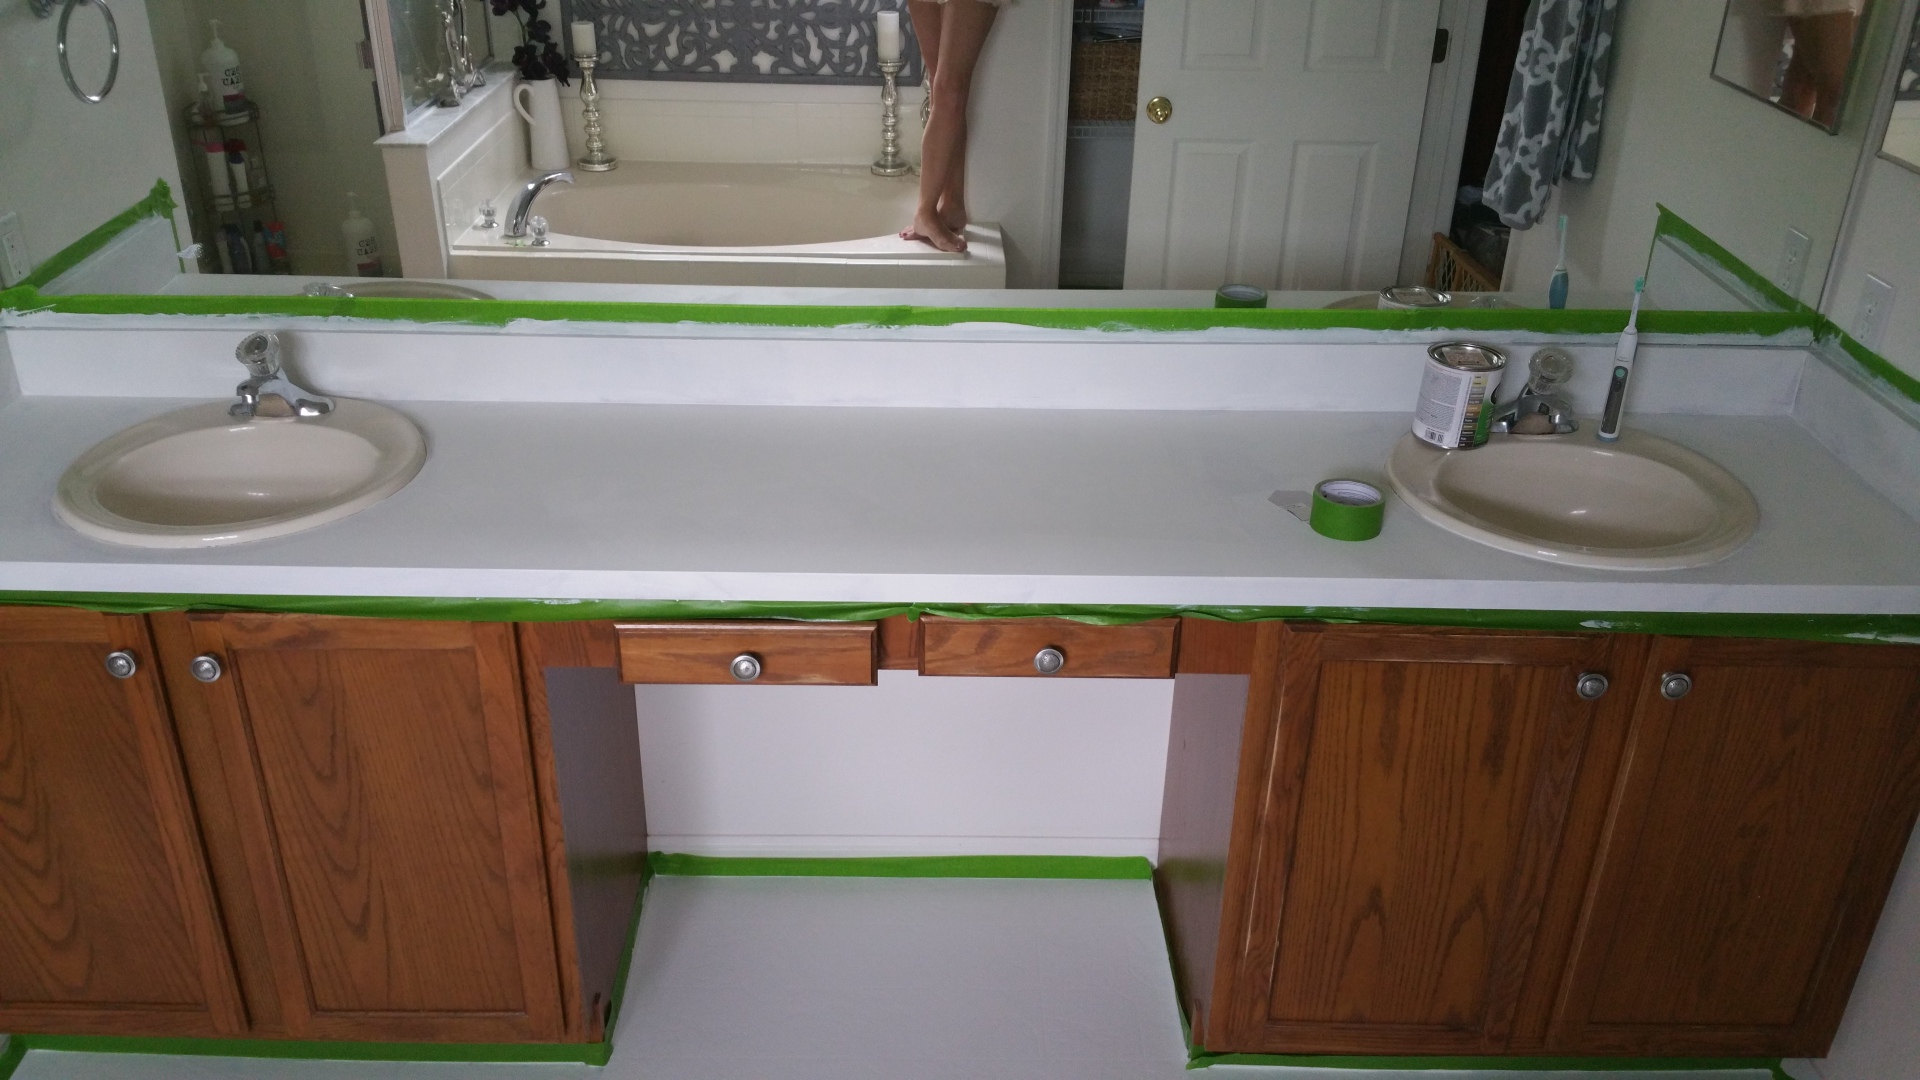
Ok, after we are clean, it’s time to prep with primer. I used the same oil based primer that I used on the floors. Use your paintbrush to edge around your sink, mirror, and backsplash and roll on the rest with your mini roller and sponge. Here it is all primed:

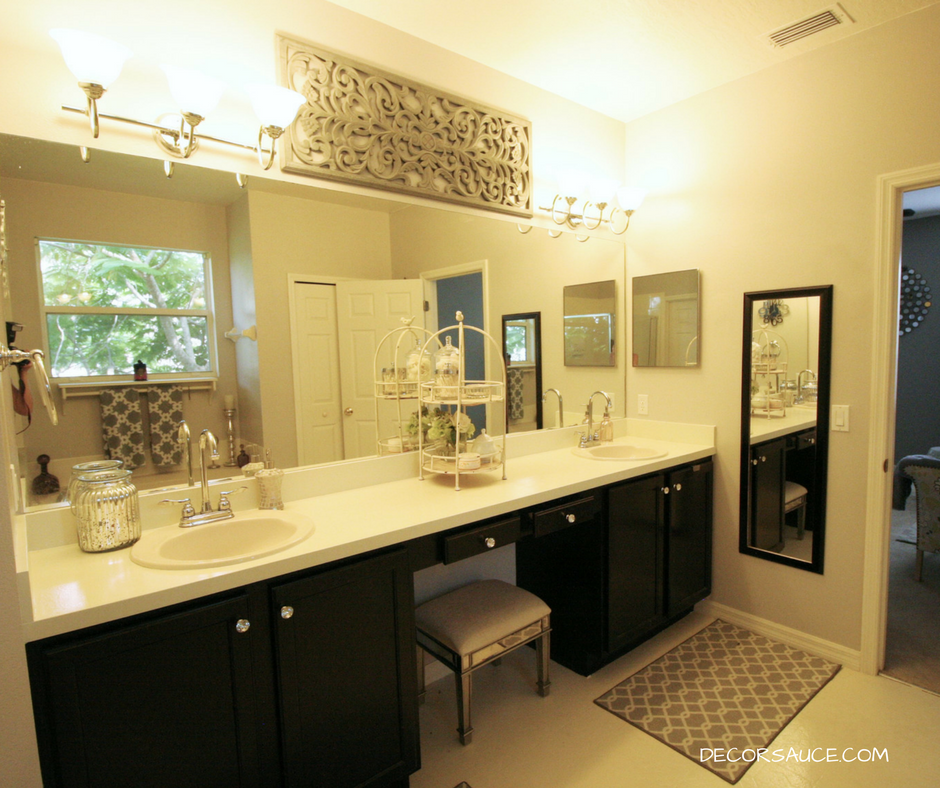
Once your primer is dry, it’s time for your counter top paint! Edge it all around like you did with your paintbrush, then roll to fill it in. I ended up doing 2 coats of the Countertop cover. I called Rust-Oleum to ask their customer service whether or not they recommend using a top coat over this paint. They told me that because this paint has anti-bacterial properties, they do not recommend a top coat. I accepted their advice and did not put a top coat over the paint. It has been 14 months and I am pleased to announce that the paint has held up beautifully with no chips or staining, even after a group of pre-teens came over and dripped hot pink hair dye all over them, got distracted, and let it soak in all night. Incidentally, this was the same night I tested them with bleach, and I am happy to report it all worked out with no damage.
That is all the good, here is the not so good: It is paint and if you have eyes, and your eyes are looking at it, you can tell. You can see the texture from the roller brush strokes and the finish is not particularly even. Some areas are shinyish and some are not, and I think this is more of a paint issue than a technique issue. Knowing ahead of time though, you may be able to be more careful about how you apply it to get the best result.
All things considered, I would absolutely do it again. It’s my bathroom which is in a low traffic area of the house where only my hubs and I use it regularly. I found my counters so unappealing before, I felt the urge to make excuses for myself about them (it’s not my fault, friends!). Now I can more easily ignore them and pretend they are fine (for a little while longer), while I save up for a permanent solution. And let’s be honest, this only cost $20!


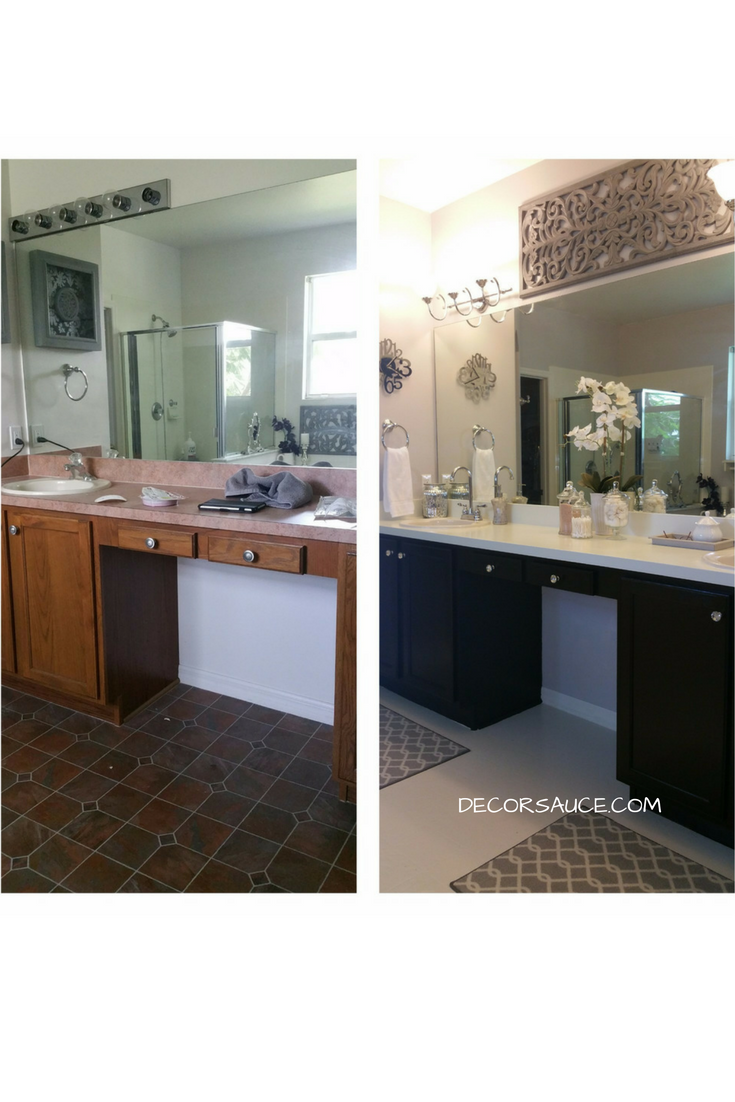
As you can see by the above image, I also stained the cabinets with General Finishes Gel stain in Java, replaced the light fixtures, faucets, and knobs. All of which were purchased on Amazon. The faucets were around $50 each (I used gooseneck bar faucets that do not have drain stops), the light fixtures were around $70 each, and the knobs around $1 each. Next, I plan on framing the mirror and making a roman shade for the window (but that will be for another day).
Pretty great for around $400 total, right?

Leave a Reply