Sooo, here’s where we left off:
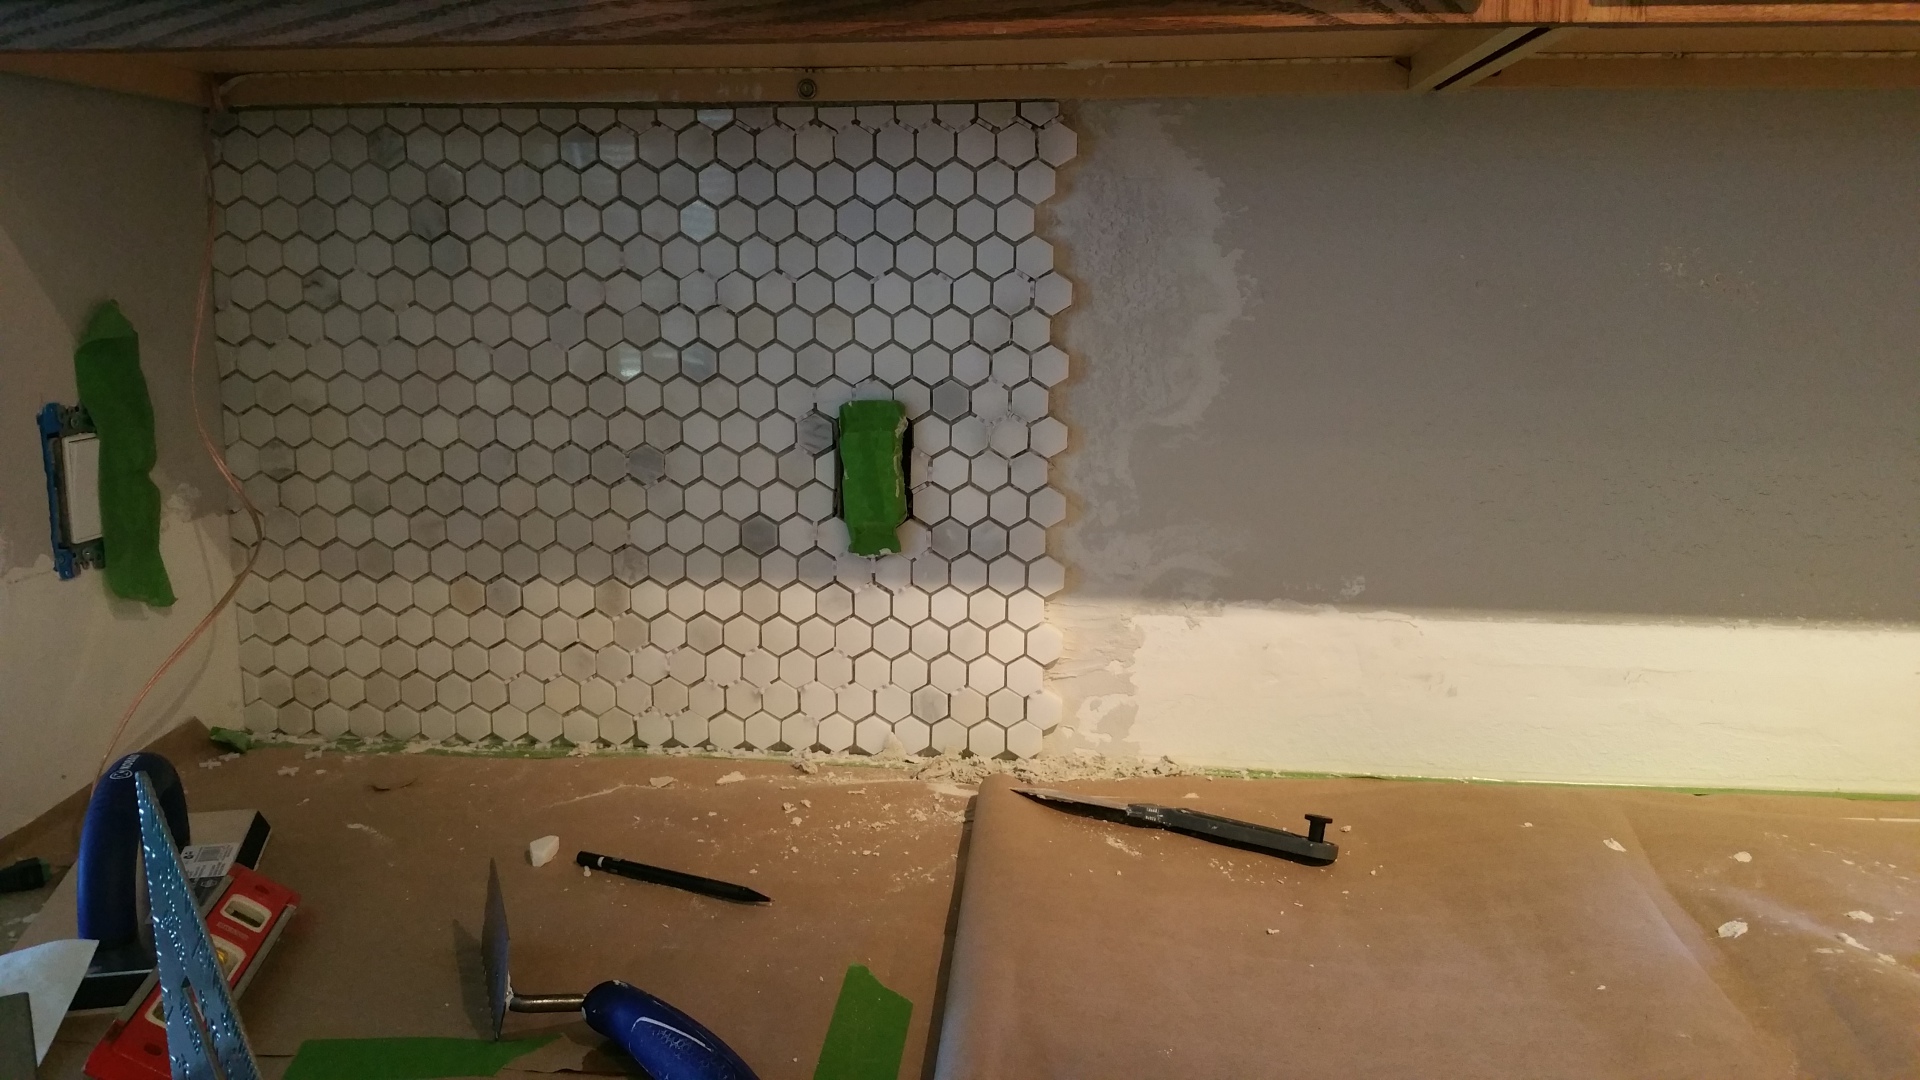
Not a whole lot to show for a full day’s work but we are rested and determined to bust it out on day 2. Mix up more thinset and do exactly what you did on the first 4 sections for the next 4 sections. And then the next 4, etc. Tip: Do not leave your bucket of thinset sitting in your stainless steel sink while you work. I did this and a chemical reaction left a dull ring from the bottom of the bucket in my brand new undermount sink. This stuff is nasty, so keep it away from anything nice. The ring is not so noticeable now (a year later) but still, take precaution.
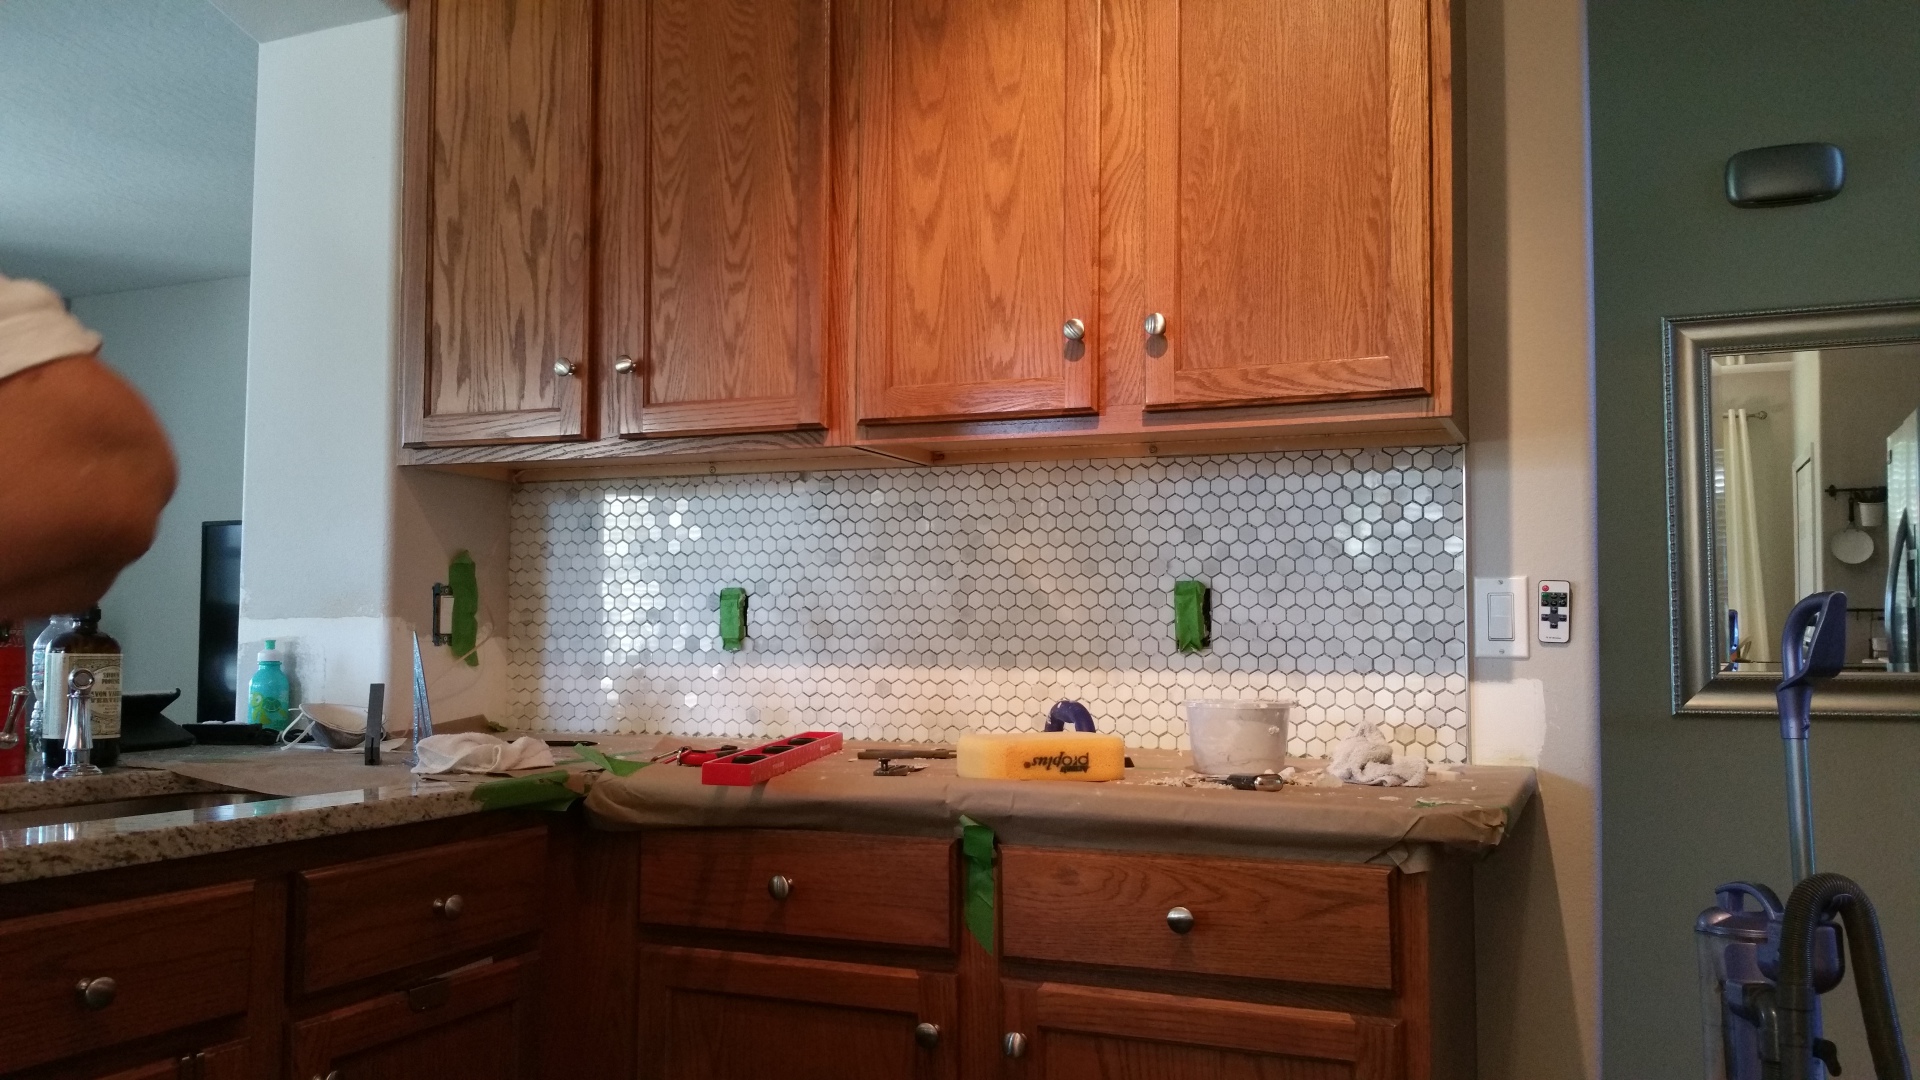
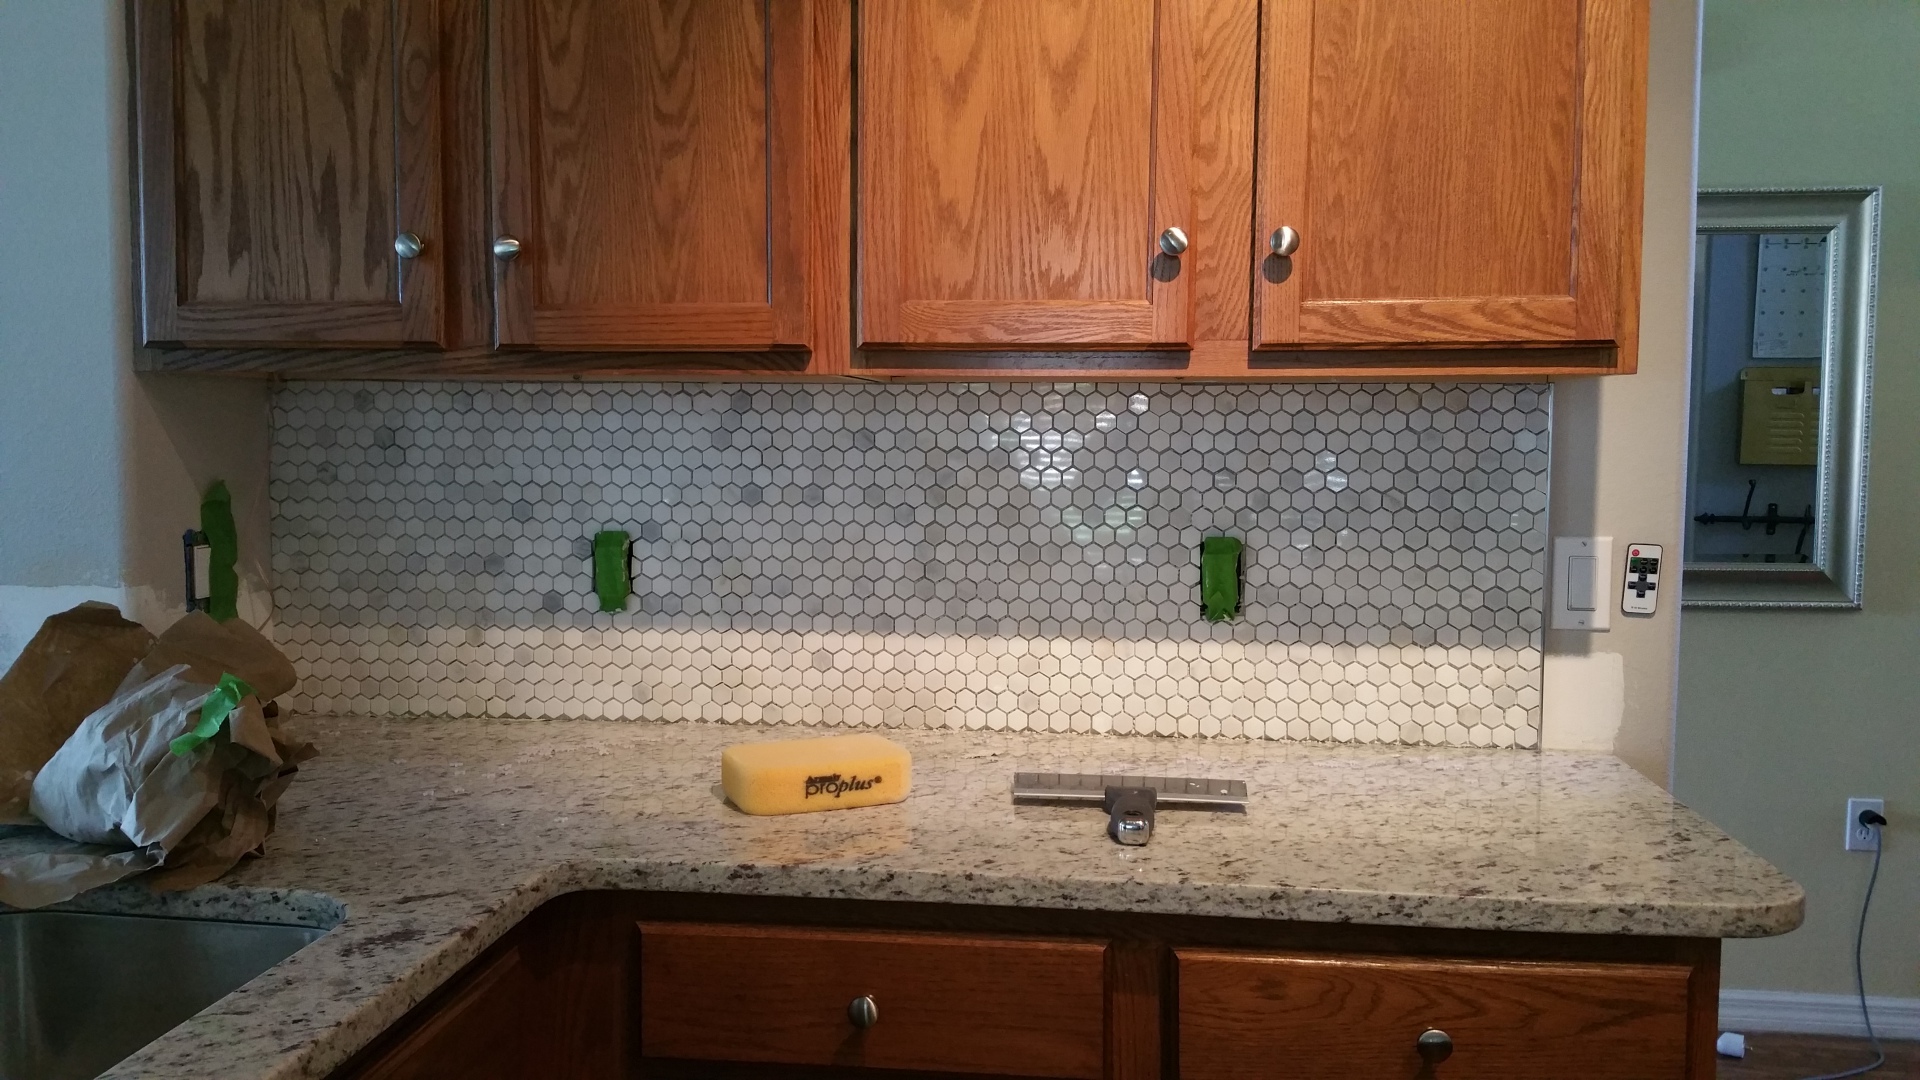
At this point you’re thinking, “I don’t even need grout it’s so gorgeous,” but that is just your inner voice trying to help you out by getting you out of some work.
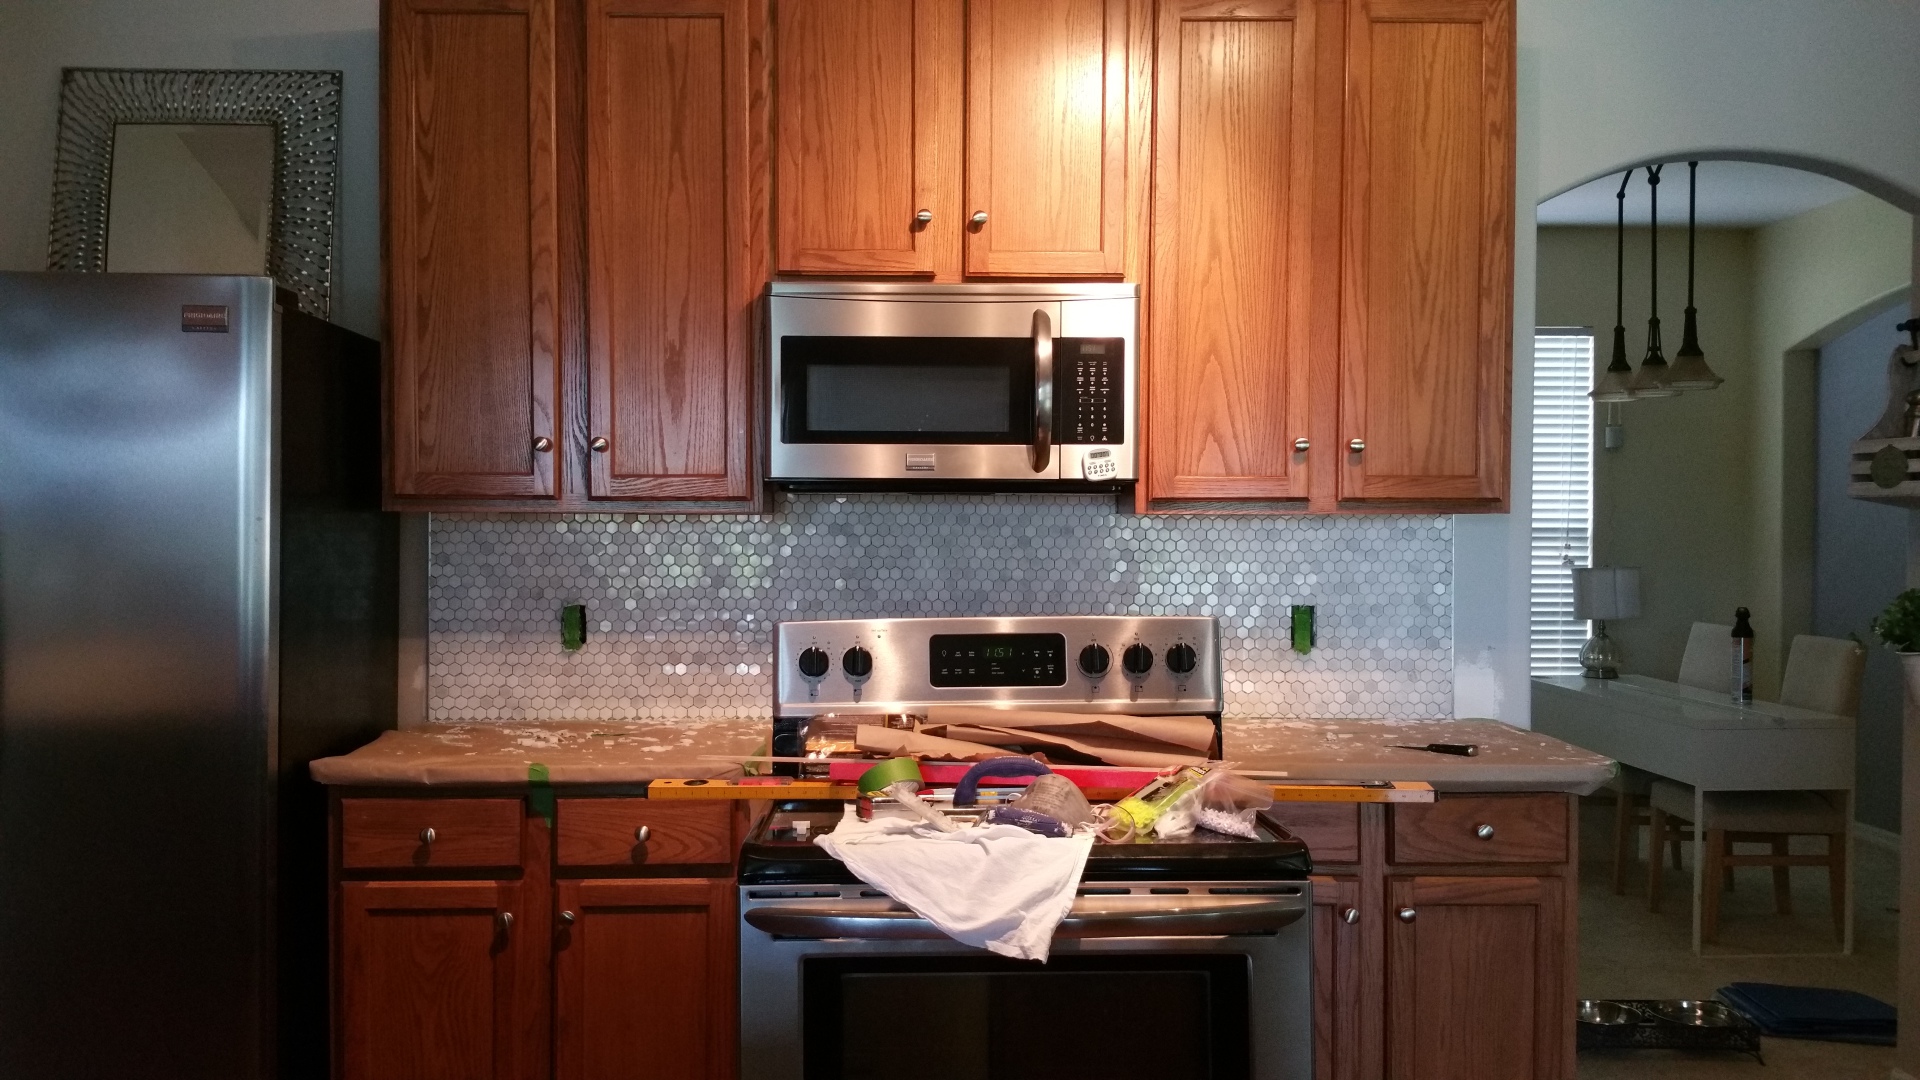
Above is what it will look like when you have adhered all of your tiles with thinset, but before you grout. We finished this part of the project on day 2 at about 2AM. To the right of my stove is where I made my error in calculating the tile “puzzle” which we discovered at about midnight. My calculations were 1/2 of a tile short and would not match up in the correct pattern with the previous tiles.
I may or may not have had an Incredible Hulk-like tantrum following this discovery. That’s right friends, it’s not all glory. I had to fix the problem by piecemealing half tiles all along the bottom of the countertop to the right of the stove. This means to the left of the stove the pattern starts with a whole tile at the bottom, and to the right of the stove the pattern starts with a half tile at the bottom. It’s not perfect, but it’s also not a super big deal, and 99% of people would never notice it. A tile expert who was in my home to specifically critique my work would spot it for sure, so if I ever meet a tile expert I just won’t invite him over for show and tell.
After your thinset has dried for about 24 hours, it’s time to grout, which brings me to the next tip/mistake I made: When choosing which type of grout to use (sanded or unsanded) make sure you consider your material, not just your tile spacing (joint spacing). Traditionally, you use sanded grout (literally grout with sand in it) for joint spacing wider than 1/8 of an inch because grout with sand shrinks less than grout without sand. The exception is when you are tiling with a soft polished stone like marble, which will scratch like crazy if you use sanded grout and seriously dull its luster. NOT A SOUL SHARED THIS LITTLE TID BIT WITH ME BEFORE I USED SANDED GROUT ON MY POLISHED MARBLE. I spoke to at least 4 different people about grout at two different big box hardware stores and it was never even mentioned. Not even when I specifically asked the difference between the two while holding my polished marble tile sample. Therefore after 3 days of grueling hard work, I damaged the surfaces of my tiles with scratches which made them sparkle less, which only occurred to me to question why once they were sparkling less. Research before your project, friends and your tile will sparkle more than mine.
You mix the grout similarly to how you mixed the thinset, and then you spread it all over the top of your tiles.
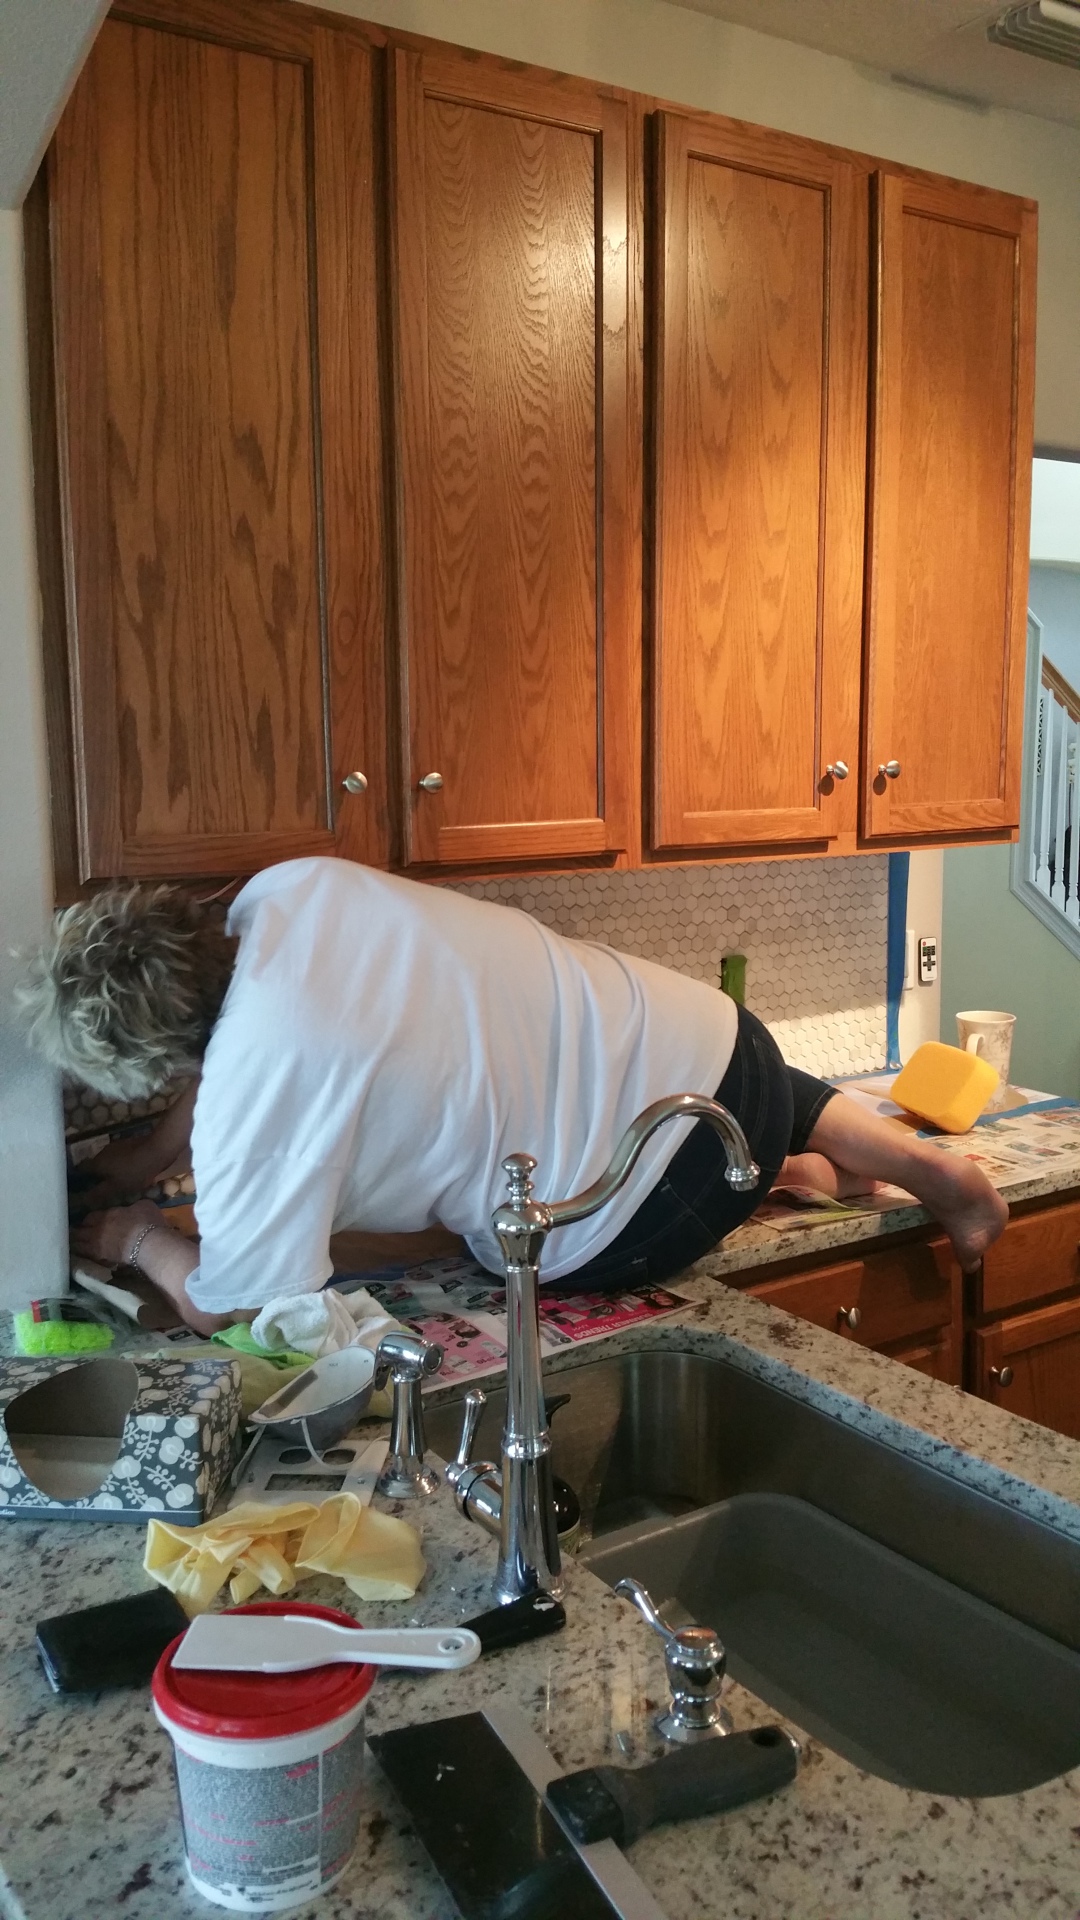
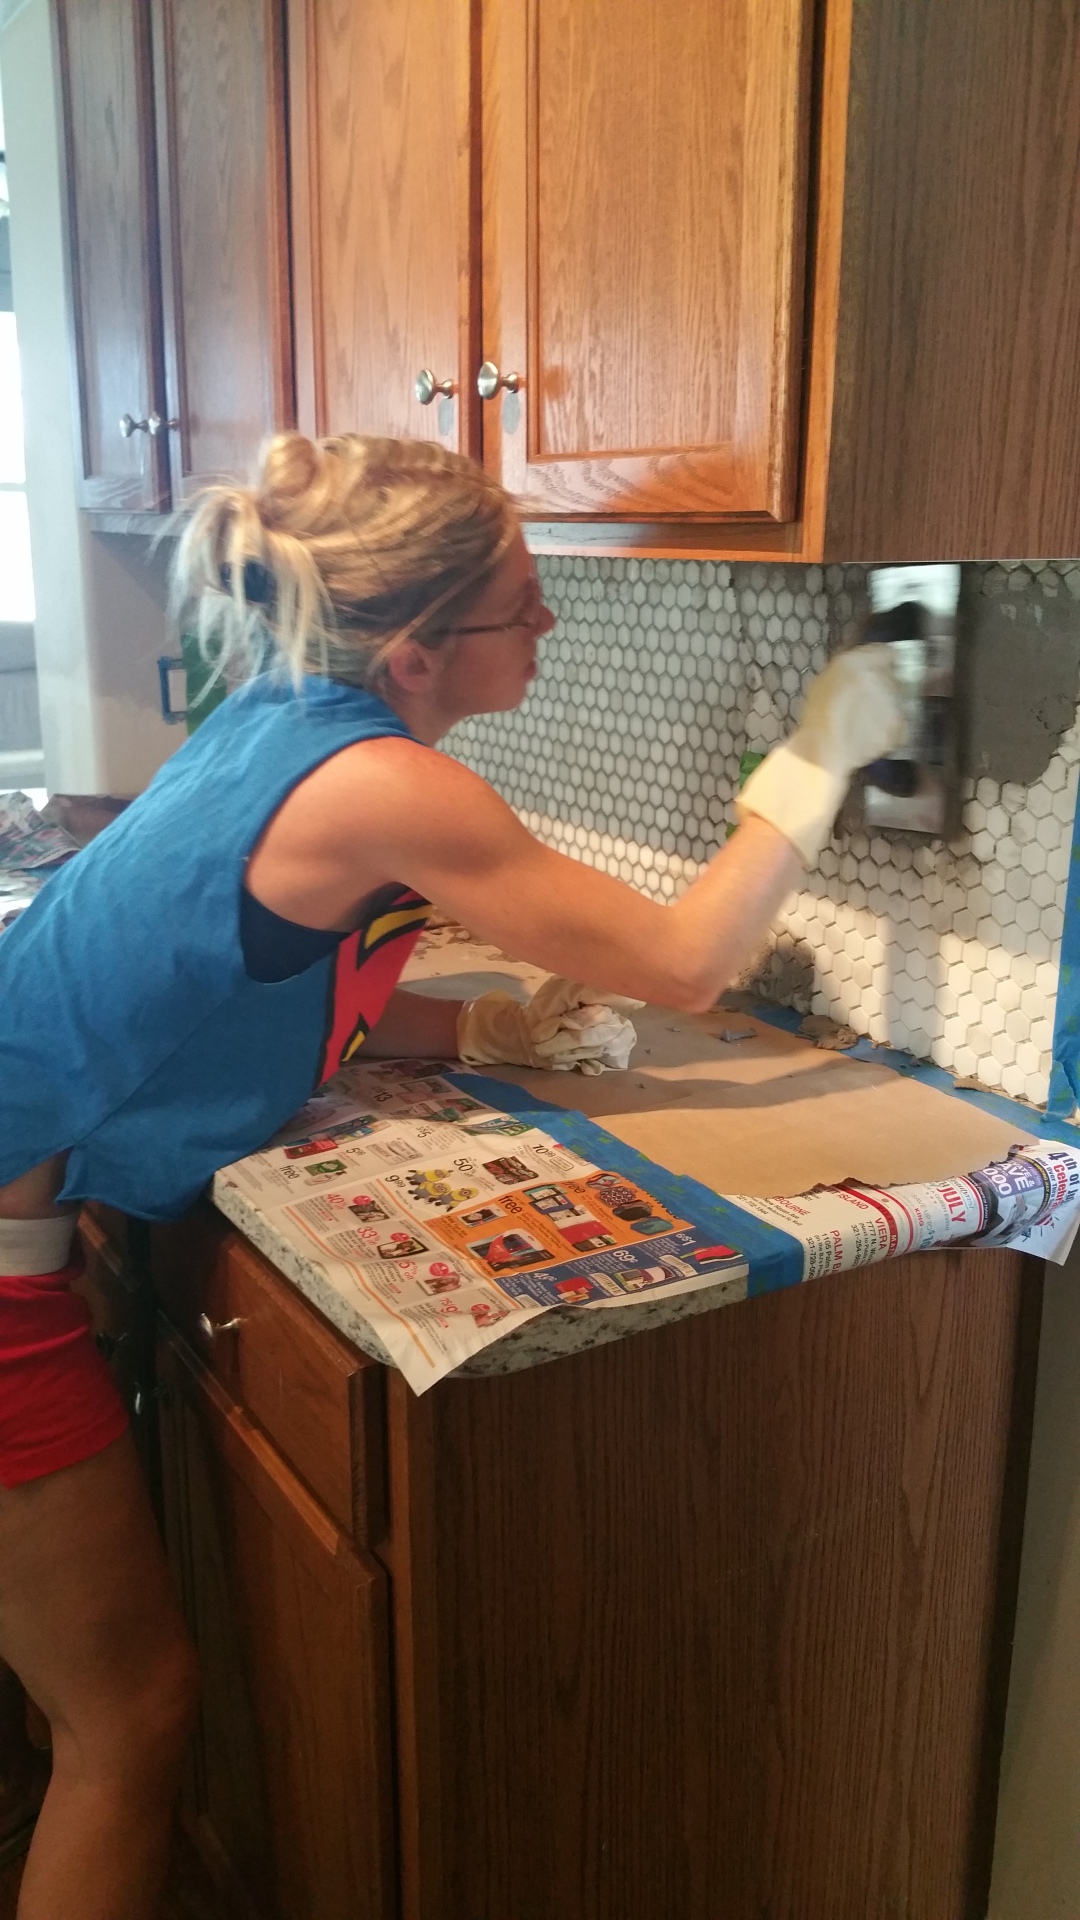
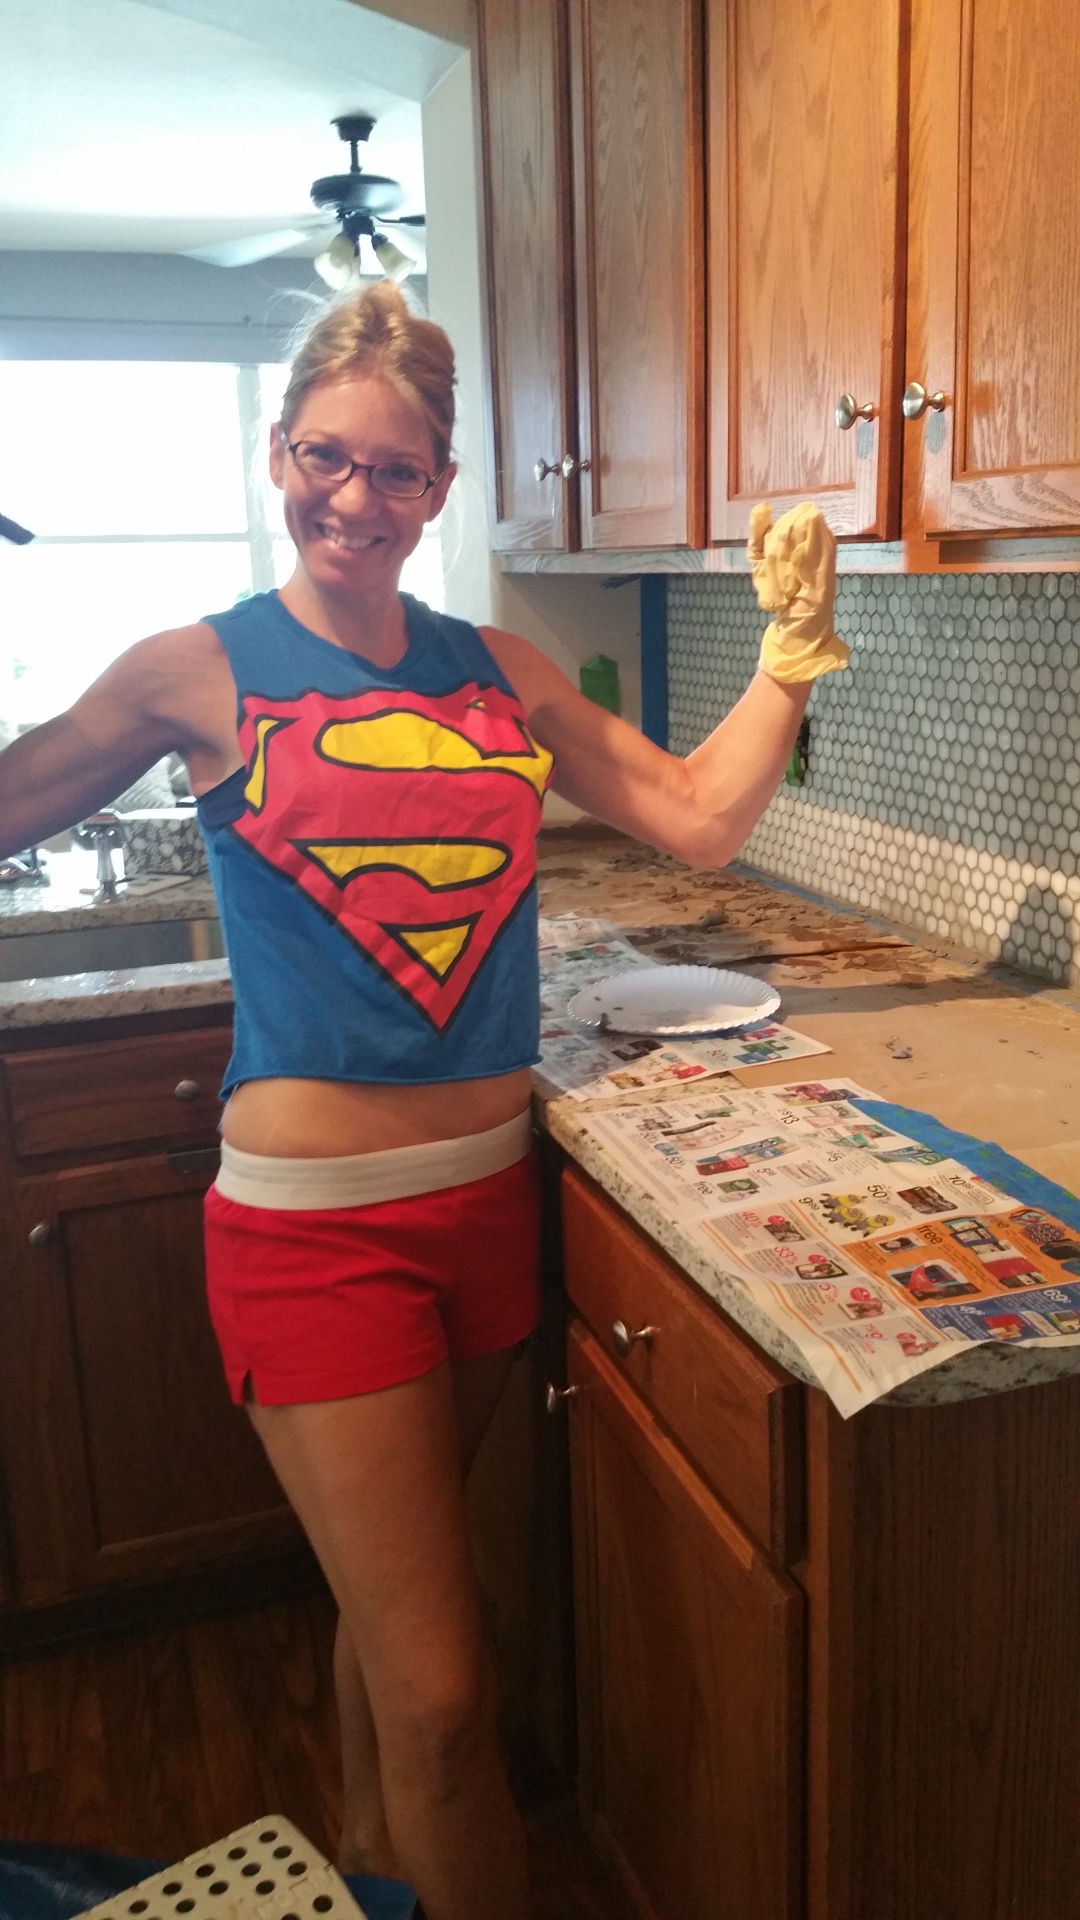
Then you ham it up for the camera because you’re hallucinating from lack of sleep and the side effects of mild hysteria.
Work in small sections with your grout, just like you did with the thinset so that it does not dry and lay on top of your tiles forever. After you have spread it on and checked to make sure that it’s spread evenly in all of your joint spaces, then you give it a sponge bath with your two giant sponges that I put on your shopping list. Yes, you need two, so one person can be wiping and 1 person can be rinsing at the same time (unless you want this project to keep dragging on forever and ever). I went over my tiles with the sponges at least 10 times to get rid of the excess grout. Keep going until they no longer look cloudy, but keep an eye on your joints while you’re wiping so you don’t wipe too much away.
After that you let it dry. Once your grout is dry you may want to go over your tiles with a product that removes “grout haze” if they still look cloudy to you. I needed to do this and it really helped my tiles gain back some of the sparkle they lost in the grouting process.
When you are totally satisfied with your result, you need to seal it with a product that is safe for the tile you used, to keep your tile safe from spills. I used one by Professionals Choice I bought at The Home Depot. You may also want to caulk around the edges of your tiles where they meet your countertops. Lowes sells paintable caulk that matches their grouts.
Now, stand back and admire your handy work and then beg your helper’s forgiveness for involving them in this ghastly project to beautify YOUR home. Here is the after:
Happy tiling, friends
At this point you’re thinking, “I don’t even need grout it’s so gorgeous,” but that is just your inner voice trying to help you out by getting you out of some work.
tile “puzzle” which we discovered at about midnight. My calculations were 1/2 of a tile short and would not match up in the correct pattern with the previous tiles.
I may or may not have had an Incredible Hulk-like tantrum following this discovery. That’s right friends, it’s not all glory. I had to fix the problem by piecemealing half tiles all along the bottom of the countertop to the right of the stove. This means to the left of the stove the pattern starts with a whole tile at the bottom, and to the right of the stove the pattern starts with a half tile at the bottom. It’s not perfect, but it’s also not a super big deal, and 99% of people would never notice it. A tile expert who was in my home to specifically critique my work would spot it for sure, so if I ever meet a tile expert I just won’t invite him over for show and tell.
After your thinset has dried for about 24 hours, it’s time to grout, which brings me to the next tip/mistake I made: When choosing which type of grout to use (sanded or unsanded) make sure you consider your material, not just your tile spacing (joint spacing). Traditionally, you use sanded grout (literally grout with sand in it) for joint spacing wider than 1/8 of an inch because grout with sand shrinks less than grout without sand. The exception is when you are tiling with a soft polished stone like marble, which will scratch like crazy if you use sanded grout and seriously dull its luster. NOT A SOUL SHARED THIS LITTLE TID BIT WITH ME BEFORE I USED SANDED GROUT ON MY POLISHED MARBLE. I spoke to at least 4 different people about grout at two different big box hardware stores and it was never even mentioned. Not even when I specifically asked the difference between the two while holding my polished marble tile sample. Therefore after 3 days of grueling hard work, I damaged the surfaces of my tiles with scratches which made them sparkle less, which only occurred to me to question why once they were sparkling less. Research before your project, friends and your tile will sparkle more than mine.
You mix the grout similarly to how you mixed the thinset, and then you spread it all over the top of your tiles.


Then you ham it up for the camera because you’re hallucinating from lack of sleep

Work in small sections with your grout, just like you did with the thinset so that it does not dry and lay on top of your tiles forever. After you have spread it on and checked to make sure that it’s spread evenly in all of your joint spaces, then you give it a sponge bath with your two giant sponges that I put on your shopping list. Yes, you need two, so one person can be wiping and 1 person can be rinsing at the same time (unless you want this project to keep dragging on forever). I went over my tiles with the sponges at least 10 times to get rid of the excess grout. Keep going until they no longer look cloudy, but keep an eye on your joints while your wiping so you don’t wipe too much away.
After that you let it dry. Once your grout is dry you may want to go over your tiles with a product that removes “grout haze” if they still look cloudy to you. I needed to do this and it really helped my tiles gain back some of the sparkle they lost in the grouting process.
When you are totally satisfied with your result, you need to seal it with a product that is safe for the tile you used, to keep your tile safe from spills. I used one by Professionals Choice I bought at The Home Depot. You may also want to caulk around the edges of your tiles where they meet your countertops. Lowes sells paintable caulk that matches their grouts.
Now, stand back and admire your handy work and then beg your helper’s forgiveness for involving them in this ghastly project to beautify YOUR home. Here is the after:
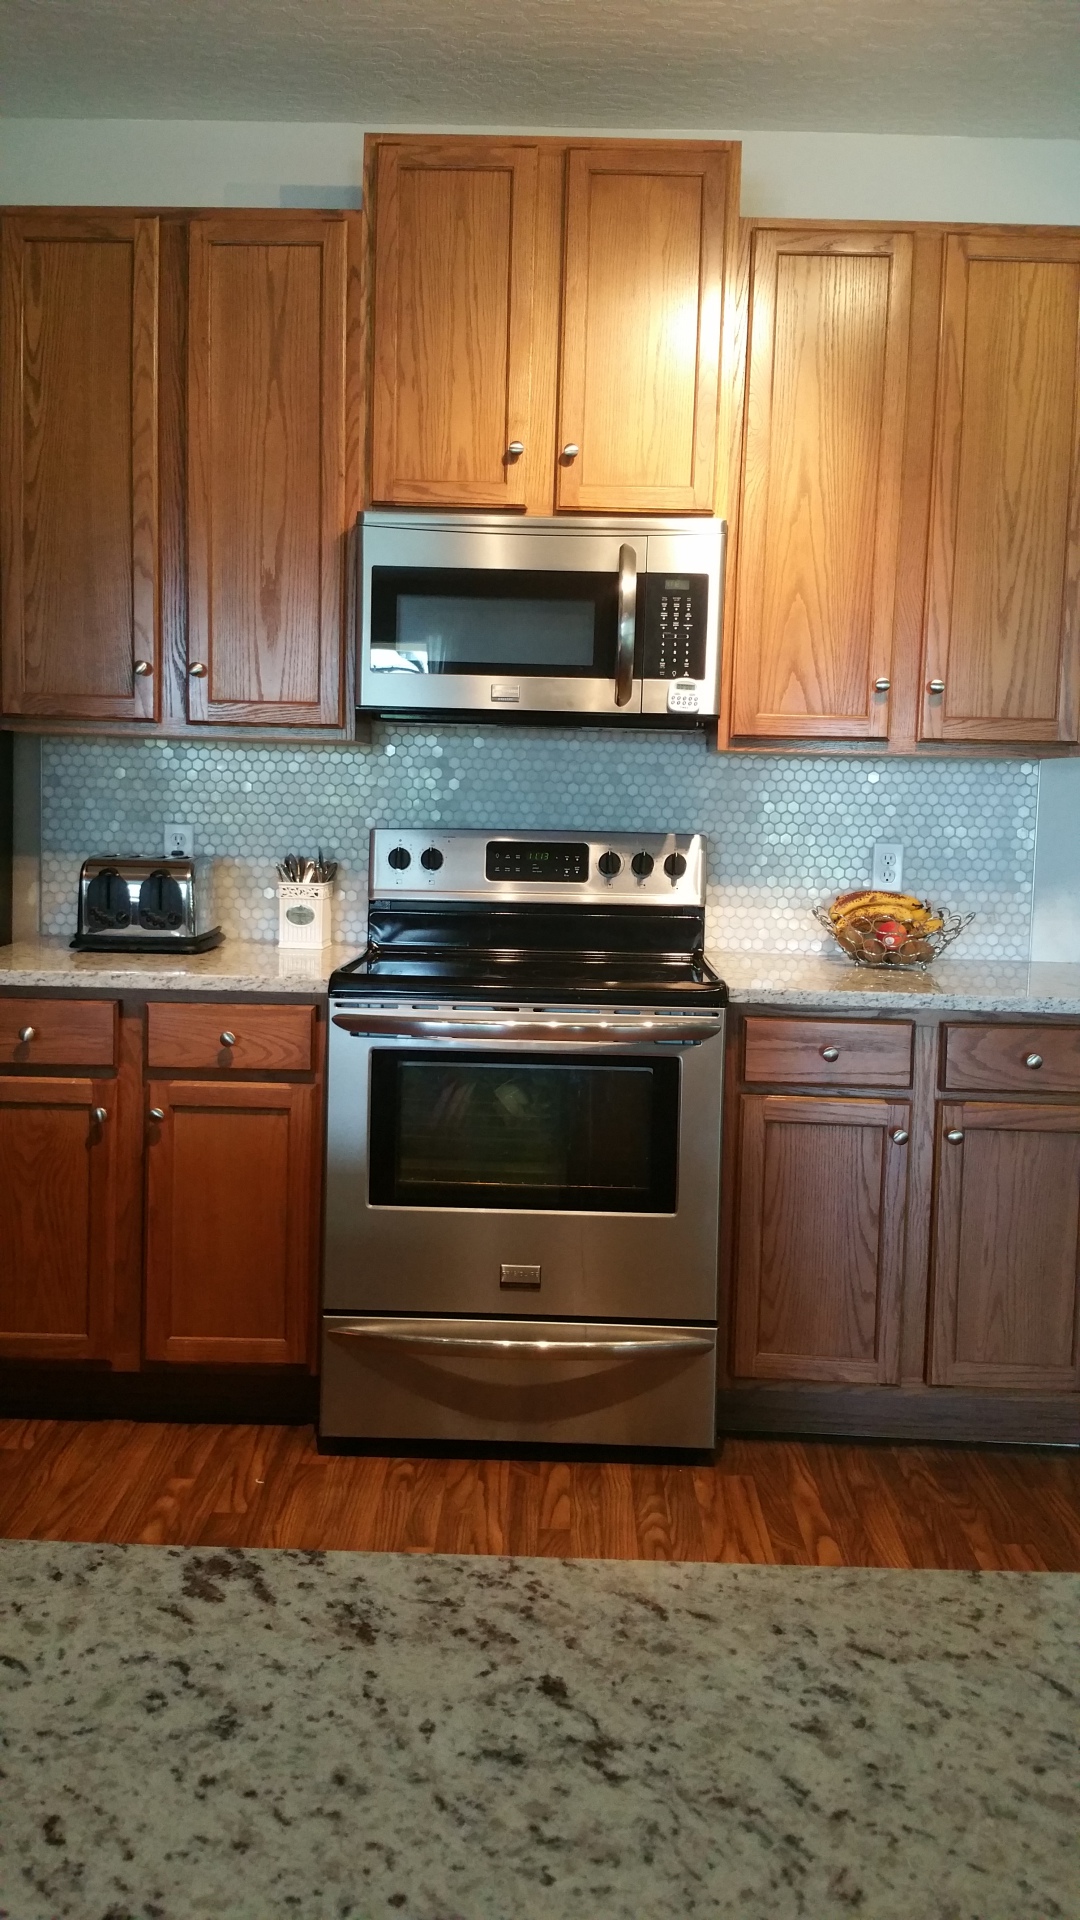
Happy tiling, friends!

Leave a Reply